Showing posts with label stencil. Show all posts

Thursday, September 29, 2016

To my cool friend card tutorial


Hello my dear crafty friends and welcome to my Cool friend card tutorial made for Susan K. Weckesser blog. This is a Mixed Media background card with Susan K. Weckesser sweet images and a lovely sentiment and it perfectly fits this month theme.

So here is how I made this card:
1. Use texture paste over the Rebecca Baer small sized Snow Flurries stencil . This size of  stencil is just perfect for the cards.
Let the paste dry.


2. Add a mix of Tattered Angels mists over the dry  stencilled image. Wait between the layers unless you want to get a " mad" over your card.


3.Stamp the couple of snowmen using Susan's Unity co-branded Snow Way stamps and her Sky Clearsnap ColorBox Color Pop Mini ink. Stamp each image twice as we're going to make some paper piecing later.
Stamp the To my cool friend sentiment too for the future use.


4. Color the images with Zig Real Color Brushes and then cut the pieces that we will use for a 3d effect.


4. And this is how the pieced and arranged images look on the finished card. All card was misted with golden mist , so the colors are slightly different after all.


And this is a finished card- the background white card and the  Mixed Media background were die cut with Elizabeth Crafts Stitched rectangles dies and I added a few random golden sequins.


Thursday, July 28, 2016

2771 Home Tags

Hi everyone, Steph here today as a member of the Susan K. Weckesser Design Team.

I've used the Little Haven stamp set and the newest Colorbox® Color Pop Archival Dye Ink by Susan K. Weckesser - such amazing colors.

 
I cut the Color Burst pattern paper to fit the tag, inking it with Cocoa Ink before adhering it to the tag.  I then stamped the Little Haven house twice with Mystery Ink, fussy cutting one house to fit the tag.  From the second house, I fussy cut the window, door and scalloped edging.  Using a water brush, I added color using Fresh ink.  To create the roof details, I used the stencil.  The numbers are from the same stencil with Fresh ink.  Home was stamped in Cocoa and added atop the house.
 

 I also cut the Color Burst pattern paper to fit the 2nd tag, and inked it with Cocoa Ink.  Using the Live in Color Tags, I fussy cut the tiny house and added it atop die cut ovals.  The numbers were also inked with Fresh ink and placed beside the house.
 

The colors in the papers coordinate so well with the inks.


I hope I've inspired you to create something fun today.
 
Steph Ackerman
for Susan K. Weckesser

Saturday, April 12, 2014

Life is a beautiful thing

Hi! I'm Valerie Reyes.  I'm so excited to be here as a guest designer for April.  Susan's artwork is so lovely, it makes me smile just to look at.  It was 3 AM when I walked in my front door from a road trip to see my design team box. I did take a few minutes to get the kids in from the car and into bed before I opened my box, but not a moment longer.

It was a true act of self control not to start working before I finished my haul video (you can find it on my YouTube channel). I went to sleep dreaming about two patterned papers in particular: Live, Love, Create and Beautiful Daydreams.

I knew that charming green house belonged in the sunny afternoon, so I started there.  After cutting out the house, I popped it up on dimensional adhesive using the Beautiful Daydreams patterned paper as a background. I used Smooch Pearlized Accent Ink to add definition to some of the details in the background paper: stems of flowers, rays of the sun, edges of clouds. The next thing to go down was the stamped sentiment, "Let your heart sing." from the Sing Your Song stamp set.


Then, I wasn't quite sure what to do.  I knew that I wanted it to be either wall art or a title page for one of my scrapbooks, so I googled the phrase, "Let your heart sing."  and came up with a song by Katharine McPhee. I filled in the white space with stamps from Little Yellow Bicycle's Love Letters Collection. Here is the final page.


If you're interested you can watch this video of my whole process.

Thank you so much for stopping by and a special thank you to Susan K. Weckesser, Inc. for giving me the opportunity to guest design here.

Valerie Reyes
Susan K. Weckesser Guest Design Team Member

Sunday, March 23, 2014

"Run for the Cure" - mixed media scrapbook page

Hello Friends! JJ here again. Today, I'm sharing a scrapbook layout featuring mixed media techniques:


After covering my background with gesso, I added border strips with Susan's stencil and some texture paste:


I added a little colour to the background with Inktense blocks and blended with gesso.  Then I added some stamping, including the banner from "Create Your Day", and some texture stamping with a stamp from the ABC.123.Washi set. 


I wanted a little more bright colour, so I spritzed some Dylusions spray through a Want 2 Scrap stencil.


You can also spot stamps from In-Circle-Me, and Insta-Cute in these detail shots.


Thank you for visiting!
JJ Sobey


Susan K Weckesser supplies:
Live in Color paper collection
borders stencil by The Crafters Workshop
ABC.123.Washi , Create Your Day, In-Circle-Me, and Insta-Cute stamp sets by Unity

Partner products:
Arrows stencil and pearls by Want 2 Scrap
Dylusions sprays

Tuesday, February 18, 2014

Create To Live Layout

Happy Tuesday!  Today I wanted to share a layout that I created of why I love to create.  It truly is a part of me to do something creative just about everyday or else I feel something is missing.  I used the lovely Live In Color Paper Collection by Susan K. Weckesser and also fussy cut some of the designs from the paper such as the clouds, kite, flowers and title.  I also used a Faber Castell Pitt Big Brush Pen and a Susan K. Weckesser stencil to add some faux stitching and also Susan's A Little Grunge Love Stamps.


I also misted my die cut title that I cut with my Silhouette Cameo and added some paint splatters and some misted spots so that the journaling would be easier to see.

I hope you are inspired to create a layout on why you love to create.  Sometimes selfies are therapeutic. Have a lovely day!

Lee-Anne


Friday, January 24, 2014

"Home is where the heart is" canvas

Hello dear friends, Einat Kessler here with a mixed media canvas. Directly from the CHA show I wanted to share with you the project from the amazing workshop Susan and I taught at the show.


Start with a 6"X6" canvas and paint it with teal, yellow and green acrylic paints. water your brush and blend the colors to create a more uniform background. Then add patterns using the ever so fun Susan's stencil using distress ink and a blending tool.


Stamp the house stamp on white cardstock and then color it with Pan Pastels. I like to use a baby wipe as my brush. it has a really nice wash effect and you have more control of the areas you color.


Color some white paper flowers in the same technique. Stamp the canvas with some washi tape stamps from the "A little bit washi" stamp set and a sun from the "Fly away" stamp set. Use permanent ink so it will stay on the canvas and not smear.


Cut some flowers and butterflies from the Beautiful Daydreams patterned paper and write the title on a white cardstock. Assemble your canvas, adding the house and all the embellishments. Add little swirls using the number 9 on the stencil in different directions. To finish the canvas add some distress ink and Pan Pastel to all the edges of the canvas.

Have fun creating!
Einat

Wednesday, January 22, 2014

fun with mixed media..

hi
 Anita here sharing a fun mixed media background

i trimmed half an inch off 2 sides of my cardstock and ruffled the 2 edges
and added patterned paper behind my cardstock
applied gesso with a plastic card to my cardstock then set aside to dry
i sprayed watered down paint onto the dry gesso then dry with a heat gun


next i used a stencil and applied modelling paste 


 then set aside to dry


 then i added a few flicks of water colour light blue


i tore strips of patterned paper and glued them down


 i used a dot stencil and mixed modelling paste 
with some light blue water colour and applied with a plastic card

 set aside to dry 

 and here is my finished layout of my daughter Kara


and here is a closeup of the A Little Grunge Love stamps i used stamped with ink


Susan K Weckesser stamps A Little Grunge Love
American crafts white cardstock
kaisercraft stencil , paint
mont marte - modelling paste -gesso
Elles studio stamp - snapshot
twine, cotton, water colours , flower, ink, dot stencil,tag


Happy Crafting


Monday, January 20, 2014

Oh to sail away....

Hello everyone. After my New Year explosion of colours I've decided to calm things down a bit and create in a neutral colour pallete (I didn't want to go for colour burn out too early in the year - ha ha!).

I've added the interest with lots of texture and dimension so there's plenty to catch the eye.

I started with a plain old square of cardboard and picked a few holes in it here and there to grunge it up. I gave it a thin coat of texture paste which I painted with beige acrylic but then wiped some of it off again so it just skimmed over the surface picking up the texture. I also used texture paste to add my stars through a stencil.


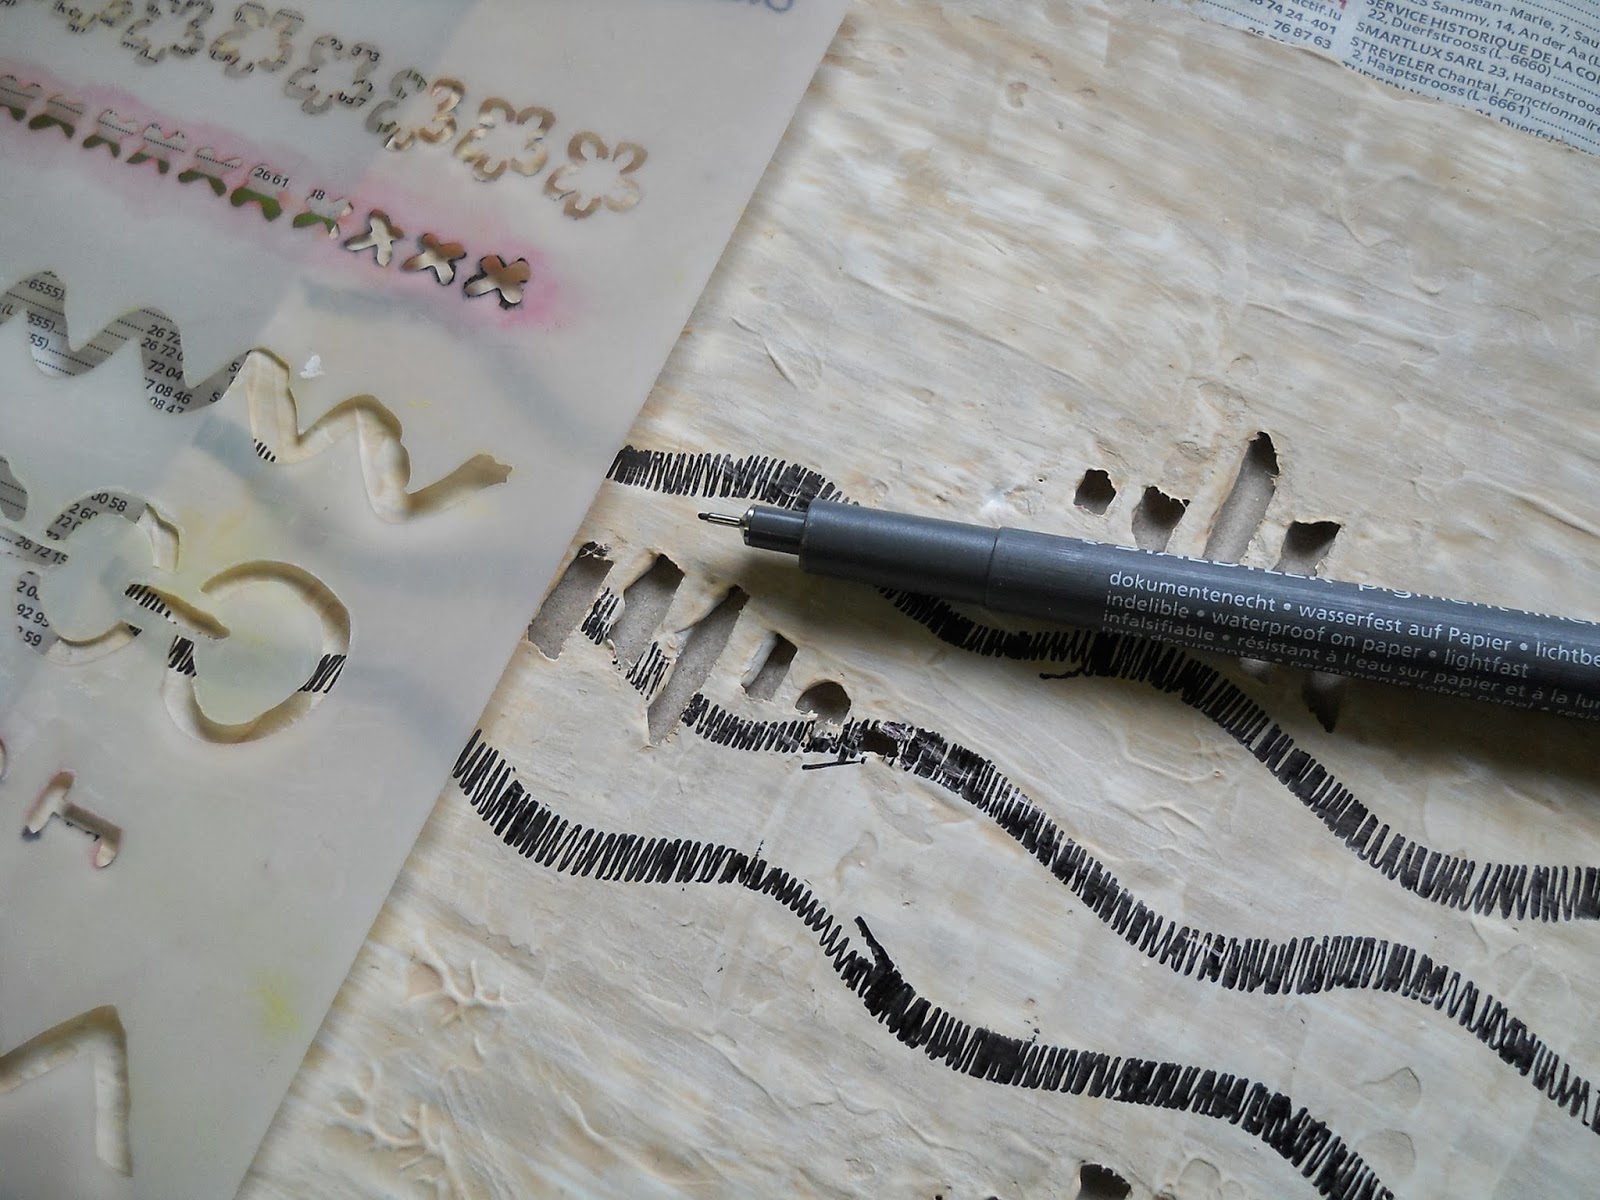
I love sewing on a project but it's not practical or possible to do on cardboard as thick as this so I faked the look with Susans borders stencil and a pen. I think it's pretty convincing.


A few drops of ink and some spray ink painted onto the stars just add a bit of further interest.


I cut out the sentiment and positioned it along the underside of my wave line to continue the curve.


The little boat from the Sail Away set was stamped once on a sheet of cardstock then again on a book page. I cut out a few of the details from the book page and glued them onto the main image. I used foam pads to raise it up off my background.


Jaine for the Susan Weckesser design team.


Saturday, December 28, 2013

Christmas Themed Family Layout

Hello!  I hope you are enjoying your day.  It's Lee-Anne here and today I have a Christmas themed layout to share with you using Susan's awesome stencil, a snowman stamp for the vellum snowman embellishment,  that I can't seem to get enough of, and some patterned papers from Canvas Corp. I also sprayed some Tattered Angels Chalkboard Mist in Ferrari Red,  as well as some twine on the banner from May Arts.   The sketch was designed by Karan Gerber.


I hope you are inspired to get inky and messy and use lots of different techniques on your next layout.  Thanks for stopping by and have a lovely day!

Lee-Anne

Friday, November 29, 2013

Faith

Hi dear crafty friends! Einat Kessler here with a new project to inspire you.
This week we are celebrating Hanukkah, the holiday of light and faith. Many of my non Jewish friends have been asking me what exactly is this holiday? Well...it's a miraculous story of faith, courage and light.


The best way to tell this story is first to share with you a card I made that summarize everything you need to know. 8 burning candles and the word faith are Hanukkah in a nut shell. I created this card from bright patterned paper which I then colored with Pan Pastels in fiery colors: yellow, orange and red. Before coloring I cut 8 candles out of kraft cardstock and layered them on my card as a mask. Then I colored around them creating a white candles image.


Then I colored the cardstock candles with the same colors. I added the word faith from Susan Weckesser's Painted Sentiments stamp set and the number 8 with Susan Weckesser stencil.
I adhered the candles to the card with 3D foam tape and my card was ready!


How does the card tell the story of Hanukkah you ask? Well...here's the story...

In 175 BCE, Antiochus invaded Judea.  The second temple in Jerusalem was looted and services stopped, Judaism was outlawed. Antiochus ordered an altar to Zeus erected in the Temple. He banned circumcision and ordered pigs to be sacrificed at the altar of the temple. Antiochus's actions provoked a large-scale revolt. The Jewish revolt was successful. The Temple was liberated and rededicated, it was cleansed, a new altar was built in place of the polluted one and new holy vessels were made. Olive oil was needed for the menorah in the Temple, which was required to burn throughout the night every night. The story goes that there was only enough oil to burn for one day, yet it burned for eight days, the time needed to prepare a fresh supply of oil for the menorah. An eight-day festival was declared to commemorate this miracle - Hanukkah!


Without Faith the revolt could not have succeeded, the temple would not have been freed and God would not have given the Jews the miracle of the oil. This holiday of light was created because of the faith that darkness can be overcome!

Thanks for stopping by
Have fun creating!
Einat

ShareThis2

BrendaPInnickColorCafe