Showing posts with label 'Go Green' concept. Show all posts

Sunday, November 13, 2016

Live In Color Tag Ornaments

Hi Friends!  Joyce Shaulis here today with another November tag project.  For this project, I recycled drink coasters and turned them into ornaments.  There are a variety of shapes available anymore, so that makes it more fun.  For these, I used ones that were 4" x 4". 


To begin, I cut out four images from the Live in Color Tag scrapbook paper. 


I stamped onto white cardstock with Mystery, color POP mini ink and the stamp set, Unicorns and Rainbows.  I also used some of the mushrooms, flowers, and bugs from the What's Up Gnomey? set. 


I used markers to color in the Unicorn and Rainbow images and cut them out. 


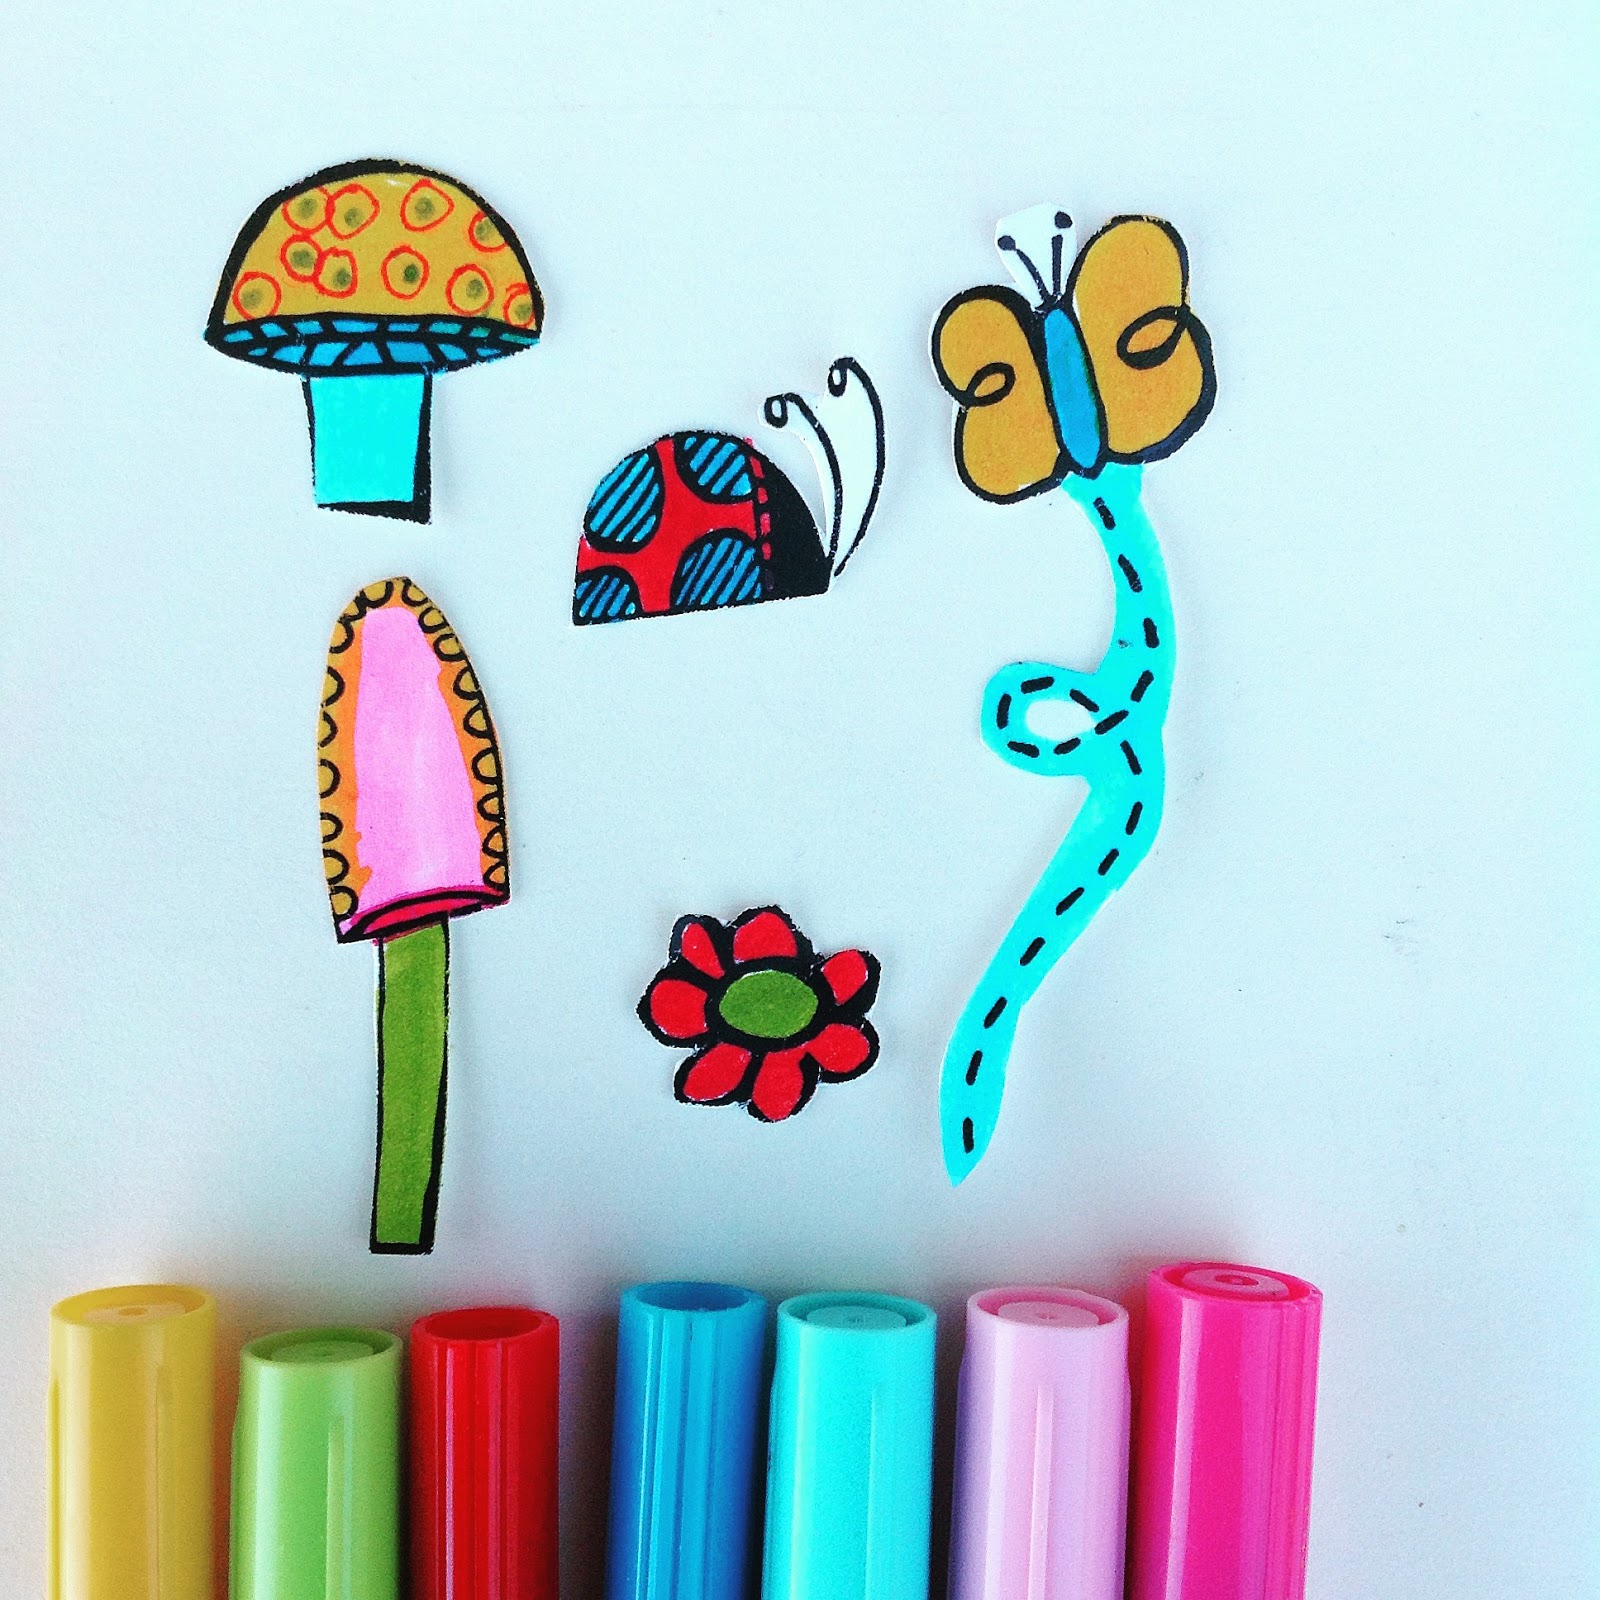
I also colored in mushrooms, flowers, a butterfly, and a ladybug from the What's Up Gnomey? stamp set and cut them out. 


Using Decoart's Decou-Page and an old paintbrush, I glued the tags onto the four coasters.  Then I glued the cut out images with Decou-page on top of the tags. 


Next, I took the mini POP inks and swiped the edges of the coasters.  For these four, I used Kiss, Fresh, and Ice. 


With a charcoal pencil, I outlined the images and the lines on the tags.  I smudged lightly with a Q-tip.  Then I coated all the coasters with the Decou-page.  After drying, I coated them all with Ultra-Matte varnish. 


Choosing from my sequin and jewel stash, I glued an assorted variety onto the coasters with white glue. 


I then used a paper punch to punch two holes into the upper corners.  Then, I used a 12'-14" piece of ribbon to tie in the holes, making a loop in the center of the ribbon.


These can be used as tags and double as ornaments.  I think they'd be a cute addition for a birthday or baby present.  I hope you enjoyed my project and that it will give you some ideas to recycle those drink coasters.
 
 
Joyce Shaulis        Susan K. Weckesser Design Team Member
 
 
Susan K. Weckesser products:
https://www.unitystampco.com/  Unicorns and Rainbows, What's up Gnomey?
https://www.clearsnap.com/ Mini POP inks in Fresh, Mystery, Ice, Kiss
Live in Color scrapbook paper
 
Other Products Used:
https://decoart.com/   Decou-Page, Ultra-Matte Varnish
https://kuretakezig.us  colored markers
white cardstock
white glue
paper coasters
assorted ribbons, jewels, sequins
charcoal pencil
scissors, paper punch
Q-tip


Thursday, August 25, 2016

Gnome Sweet Gnome


 Hello!  This is Joyce Shaulis with my second "Exploring my Backyard" themed blog project this month.  One of my favorite things to do is to go to garage sales.  I enjoy creating on recycled objects and giving new life to old things.  This project was a perfect chance to use one of my recent garage sales finds.  


This is what my original garage sale purchase looked like when I bought it.  It is a wooden box covered in a vintage style map and forest scene with a handle.  It can be used for storage or as a purse.  I had no preconceived idea in mind when I bought it, except I had thought I would probably be starting from scratch and painting over it.  You can use any type of box for your project, new or used. 


To begin with, I used Susan's adorable "What's Up Gnomey?" stamp set and mini POP ink in Mystery.  I stamped out two complete sets, plus additional stamps to complete the sides of the box.  I colored in the pieces with markers.  I made the figures different colors to give it more variety. 


Next, I cut out all pieces.  Using the Cocoa mini POP ink, I edged all pieces to add depth.  I also stained the edges of some mini fabric flowers with the Cocoa ink.


Next, I glued on all the cut out pieces with Decou-page with an old paintbrush.  I used white glue to add the tiny flowers. Be sure to use an xacto knife to cut apart any pieces that cross over the lid.


I had colored the gnome for the back side in different colorings then the front.  I glued all pieces with the gnome on the back with the Decou-page, and also glued mushrooms and flowers on the sides.


I stamped the verse with Mystery, colored in the background with markers, tore it out by hand, edged it in Cocoa, then added dots with a marker.  I stained some large and medium flowers with the Cocoa and glued them on to the top of the lid with white glue.


After all the pieces dried, I went over all the pieces with the Decou-Page.  Spray with Matte acrylic spray if desired for extra durability. 


I hope you enjoyed this project I created, and if you explore your backyard, you just might spot some Gnomes like I did!
 
 
Joyce Shaulis    Susan K. Weckesser Design Team Member


Susan K. Weckesser products:
     https://www.unitystampco.com/  What's Up Gnomey?
     https://www.clearsnap.com/  mini POP inks in Mystery and Cocoa
 
Other Products:
     https://Kuretakezig.us Zig memory systems pen
     https://decoart.com/  Decou-page matte. Americana matte acrylic spray
     white glue
     assorted fabric, paper, burlap flowers 


Friday, July 29, 2016

Home Sweet Home Magnetic Clips


Hi!  This is Joyce Shaulis with my second "Home Sweet Home" project this month with the Susan  K. Weckesser Creative Team.  I took up the challenge using the Unity Stamps, "Tumbleweed Houses" to make these magnetic note clips.  These stamps are simply adorable and I will be making more projects with them.


For these clips, I used wood heart shapes and laser cut shapes. For a fun variety, try other shapes as well.  Paint the fronts and backs of five wood pieces and five spring clothespins using Decoart multi-surface satin paints and a medium paintbrush. 


Next, stamp on white cardstock using the new color POP mini inks, in Mystery and the Tumbleweed House set.  Color in the designs with markers.  I used Zig Memory Systems pens. 


Cut out all the designs with scissors. 


Use Decou-page and an old paintbrush to glue on cut out houses onto your wood shapes. 


Next, with a very sharp charcoal pencil, outline your house designs.  Smudge gently with a Q-tip to give a dimensional affect.  Also, edge the clothespins with the pencil and smudge. 
 
Brush over the decorated wood shapes with the Decou-page.  Dry.  Spray all pieces including the clothespins with Americana acrylic matte spray. 


With E6000 glue, glue on tiny rhinestones to wood shapes and clothespins.  Glue the decorated wood shapes onto the top portion of the clothespin.  Dry well. 


Use Gorilla Glue to adhere your magnets to the back of the clips, use blue tape to hold magnets in place while drying. 


Now your project is complete, and you can hold up all your reminder notes on your refrigerator or clip them anywhere you like.  I hope you enjoy making this little project, they would make great gifts. 
 
 
Created by Joyce Shaulis       Susan K. Weckesser Design Team member
 
Susan K. Weckesser products:
     Color POP mini ink-Mystery https://www.clearsnap.com/
     Tumbleweed Houses- https://www.unitystampco.com/
 
Other Products:
     white cardstock
     wood shapes, wood clothespins
     Decoart multi-surface satin paints: turquoise waters, red barn, shrimp, canary
     Decoart Decou-page in matte
     Americana acrylic matte sealer  https://decoart.com/
     pens: https://kuretakezig.us
     E6000 glue:  https://eclecticproducts.com/
     charcoal pencil
     Gorilla Glue:  https://gorillatough.com/
     tiny rhinestones
     magnets


Friday, December 20, 2013

Quick and Sweet Last Minute Gift

Good Morning Creative Peeps!

Today I want to share with you a quick last minute gift that you can do in under 30 minutes.

I have been saving this maple syrup bottle for months (much to the annoyance of my hubby!) because I knew I wanted to use it for something. I LOVE the lines of it and that cute little handle. :) 


With the holidays coming up, I am making 60+ little jars of my homemade salted caramel sauce for my hubby to give to his office peeps. So...I decided my little bottle needed to become a special jar of caramel sauce for somebody. 


I was lucky enough to have a total creative perfection moment...I was trying to figure out how to make the perfect circle for my bottle when I realized the center of my large Spellbinders gear by Donna Salazar was the exact same size as my bottle label AND was the perfect size for the "Good as Gold" tag from Susan's "Live in Color Tags" paper. WINNING!


After adding my label, I rolled a few flowers from Susan's Whimsical Paper line and hand cut a few leaves. I attached them to the corner with a hot glue gun. 


For my tag, I used a Spellbinders label die and Susan's paper, topped off with Susan's "Smile" Stamp from her "A little bit of Washi" stamp set from Unity. (I used Pickled Raspberry Distress Ink from Ranger.) I hung it from Canvas Corp black rope and added a little bow. 

Top it all off with a little "Golden Goddess" Glam from Tattered Angels to add some sparkle and your handmade gift is ready for whatever you want to fill it with!


Funny Note: For this pic, I filled it with a little colored water because I couldn't find my funnel to add my thick caramel sauce into the bottle! LOL. 

Want my recipe for my salted caramel sauce? Here is the base recipe I found at The Recipe Girl Blog: Salted Caramel Sauce. It is good this way, but I like to tweek all recipes...I let my sauce boil an extra few minutes because the color and flavor gets darker and it gets thicker as it sets. Plus, I like a little more salt than this recipe calls for. 

I hope you enjoyed my quick and easy project today! And trust me...make some homemade caramel sauce this Christmas...you will never go back to store bought!

XOXO,
KERI


Thursday, March 18, 2010

Scrapbooking about the 'Tooth-fairy'!

I love layering and playing! There are so many neat products and colours that you can use! Actually my background paper here is from Prima packaging. I ADORE their 'GO GREEN' concept. The very idea of using packaging in your artwork instead of throwing it away is fantastic! Try it! It is fun. They have neat ideas on their blog - http://prima.typepad.com/ .


              Have fun with this!
                                     Keep on Scrappin'
                                                                    Susie

ShareThis2

BrendaPInnickColorCafe