Showing posts with label green crafts. Show all posts

Sunday, November 13, 2016

Live In Color Tag Ornaments

Hi Friends!  Joyce Shaulis here today with another November tag project.  For this project, I recycled drink coasters and turned them into ornaments.  There are a variety of shapes available anymore, so that makes it more fun.  For these, I used ones that were 4" x 4". 


To begin, I cut out four images from the Live in Color Tag scrapbook paper. 


I stamped onto white cardstock with Mystery, color POP mini ink and the stamp set, Unicorns and Rainbows.  I also used some of the mushrooms, flowers, and bugs from the What's Up Gnomey? set. 


I used markers to color in the Unicorn and Rainbow images and cut them out. 


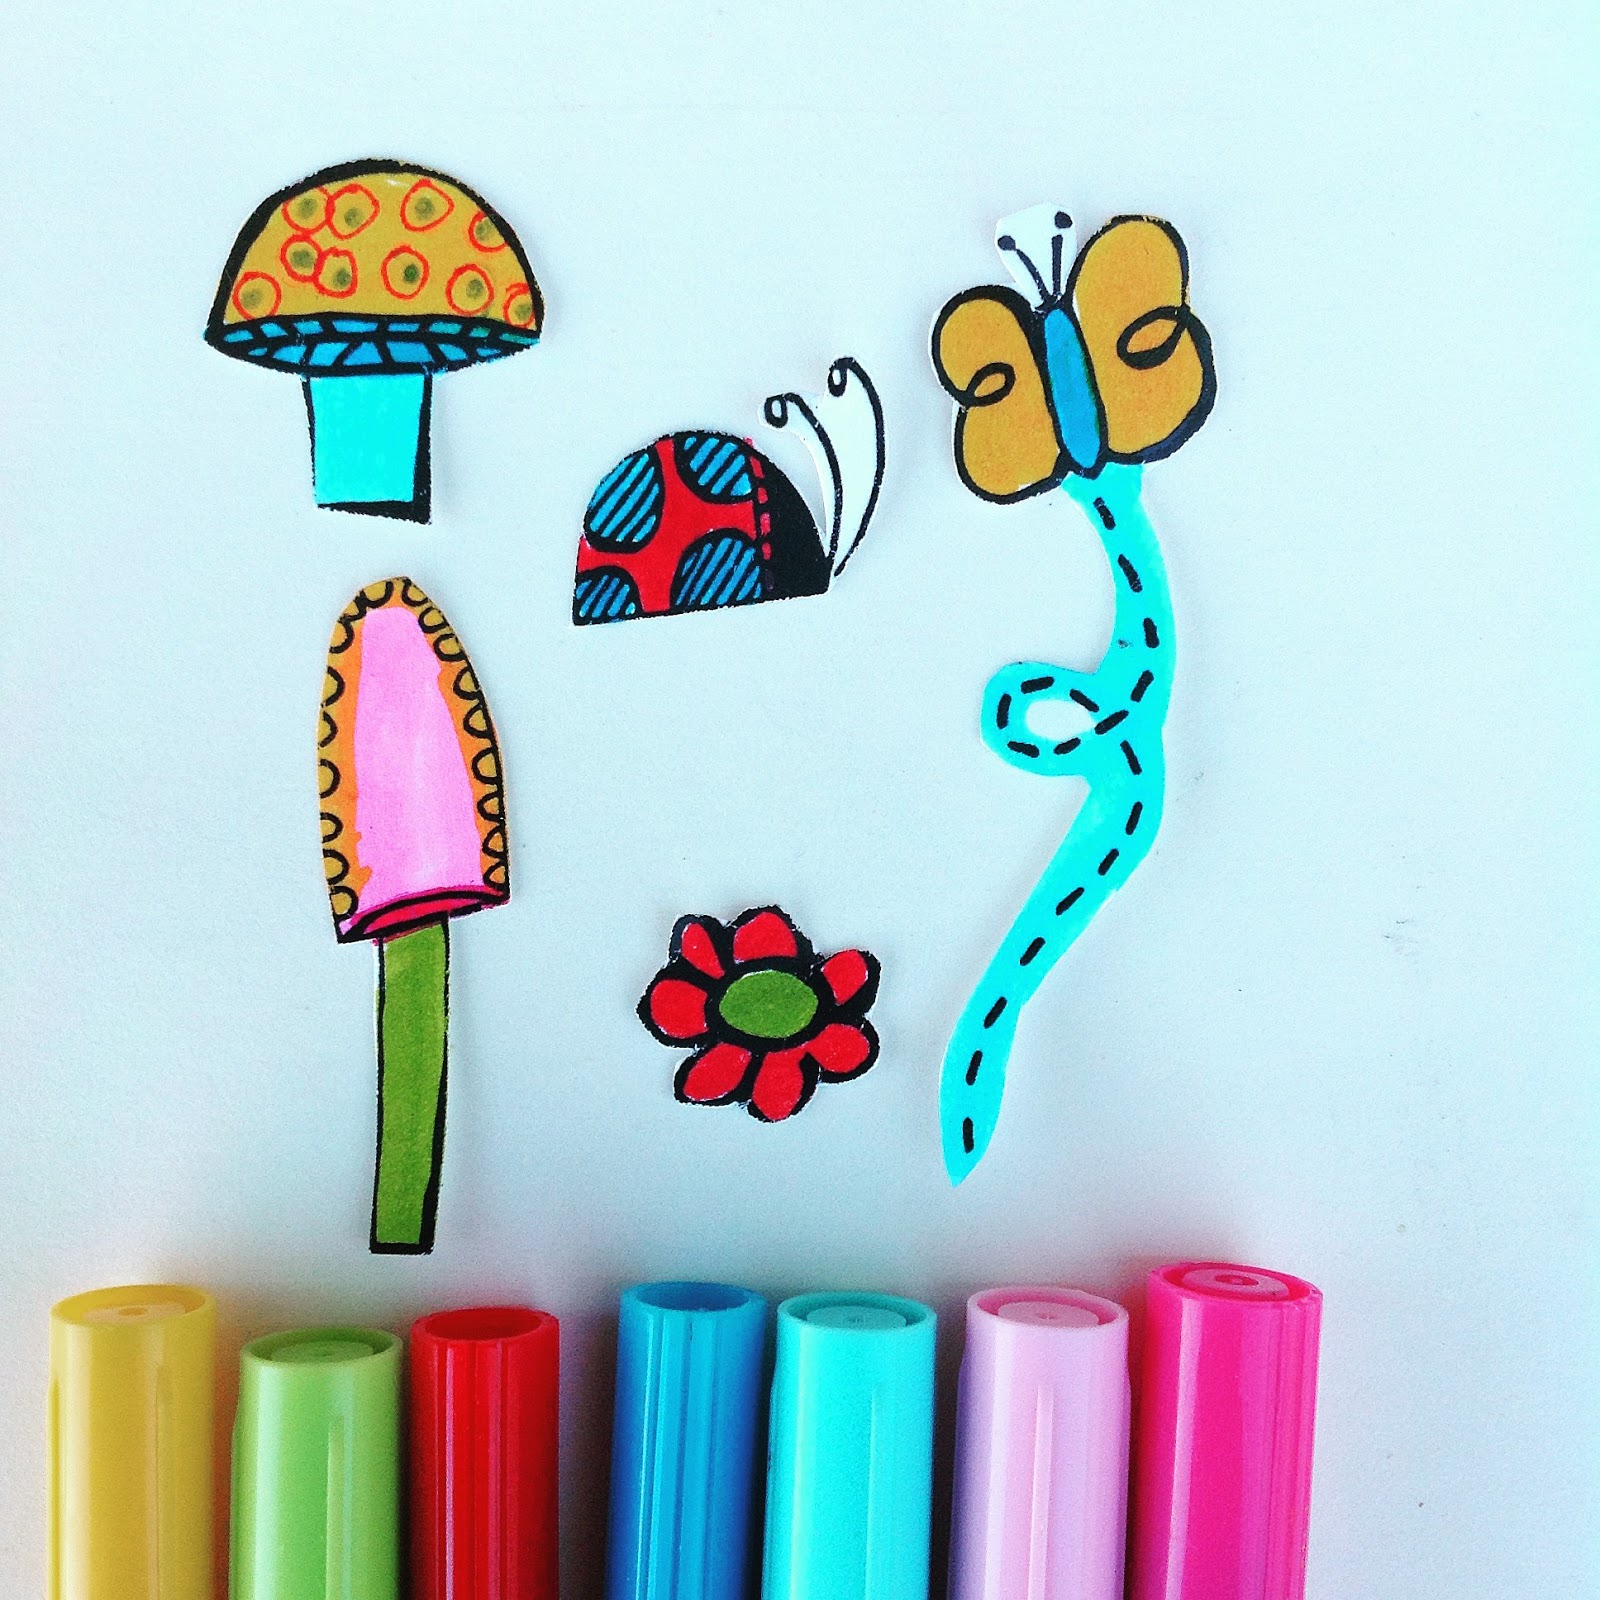
I also colored in mushrooms, flowers, a butterfly, and a ladybug from the What's Up Gnomey? stamp set and cut them out. 


Using Decoart's Decou-Page and an old paintbrush, I glued the tags onto the four coasters.  Then I glued the cut out images with Decou-page on top of the tags. 


Next, I took the mini POP inks and swiped the edges of the coasters.  For these four, I used Kiss, Fresh, and Ice. 


With a charcoal pencil, I outlined the images and the lines on the tags.  I smudged lightly with a Q-tip.  Then I coated all the coasters with the Decou-page.  After drying, I coated them all with Ultra-Matte varnish. 


Choosing from my sequin and jewel stash, I glued an assorted variety onto the coasters with white glue. 


I then used a paper punch to punch two holes into the upper corners.  Then, I used a 12'-14" piece of ribbon to tie in the holes, making a loop in the center of the ribbon.


These can be used as tags and double as ornaments.  I think they'd be a cute addition for a birthday or baby present.  I hope you enjoyed my project and that it will give you some ideas to recycle those drink coasters.
 
 
Joyce Shaulis        Susan K. Weckesser Design Team Member
 
 
Susan K. Weckesser products:
https://www.unitystampco.com/  Unicorns and Rainbows, What's up Gnomey?
https://www.clearsnap.com/ Mini POP inks in Fresh, Mystery, Ice, Kiss
Live in Color scrapbook paper
 
Other Products Used:
https://decoart.com/   Decou-Page, Ultra-Matte Varnish
https://kuretakezig.us  colored markers
white cardstock
white glue
paper coasters
assorted ribbons, jewels, sequins
charcoal pencil
scissors, paper punch
Q-tip


Friday, July 29, 2016

Home Sweet Home Magnetic Clips


Hi!  This is Joyce Shaulis with my second "Home Sweet Home" project this month with the Susan  K. Weckesser Creative Team.  I took up the challenge using the Unity Stamps, "Tumbleweed Houses" to make these magnetic note clips.  These stamps are simply adorable and I will be making more projects with them.


For these clips, I used wood heart shapes and laser cut shapes. For a fun variety, try other shapes as well.  Paint the fronts and backs of five wood pieces and five spring clothespins using Decoart multi-surface satin paints and a medium paintbrush. 


Next, stamp on white cardstock using the new color POP mini inks, in Mystery and the Tumbleweed House set.  Color in the designs with markers.  I used Zig Memory Systems pens. 


Cut out all the designs with scissors. 


Use Decou-page and an old paintbrush to glue on cut out houses onto your wood shapes. 


Next, with a very sharp charcoal pencil, outline your house designs.  Smudge gently with a Q-tip to give a dimensional affect.  Also, edge the clothespins with the pencil and smudge. 
 
Brush over the decorated wood shapes with the Decou-page.  Dry.  Spray all pieces including the clothespins with Americana acrylic matte spray. 


With E6000 glue, glue on tiny rhinestones to wood shapes and clothespins.  Glue the decorated wood shapes onto the top portion of the clothespin.  Dry well. 


Use Gorilla Glue to adhere your magnets to the back of the clips, use blue tape to hold magnets in place while drying. 


Now your project is complete, and you can hold up all your reminder notes on your refrigerator or clip them anywhere you like.  I hope you enjoy making this little project, they would make great gifts. 
 
 
Created by Joyce Shaulis       Susan K. Weckesser Design Team member
 
Susan K. Weckesser products:
     Color POP mini ink-Mystery https://www.clearsnap.com/
     Tumbleweed Houses- https://www.unitystampco.com/
 
Other Products:
     white cardstock
     wood shapes, wood clothespins
     Decoart multi-surface satin paints: turquoise waters, red barn, shrimp, canary
     Decoart Decou-page in matte
     Americana acrylic matte sealer  https://decoart.com/
     pens: https://kuretakezig.us
     E6000 glue:  https://eclecticproducts.com/
     charcoal pencil
     Gorilla Glue:  https://gorillatough.com/
     tiny rhinestones
     magnets


Tuesday, July 19, 2016

Summer House Project Bucket List

Hello all!  Brooke Bock here with my very first project for the Susan K Weckesser design team.  I am thrilled to be a part of it...

I recently finished a summer studio space.  I have clean counter tops which is a rarity for me.  I wanted to create a Summer Bucket list for projects I have for our house and yard and I have the perfect spot picked out on the counter top for it to keep me inspired to get all those projects done.


I started with an old Reader's Digest book that was being discarded at a local book sale.  I removed the cover for another project and then carefully folded each page in half.  This is a great way to enjoy a movie and some inside time when it is hot outside.  Once done, it is so versatile.


Next, stamp your designs using the Tumbleweed Houses set and the Mystery Stamp pad.


Next, color them in. After they are colored, punch out each house.


Here comes one of my favorite tricks. Get out all those lovely Susan K. Weckesser Color Pop Mists and all the images you just punched out.


Ink the edge of each circle.


That one simple step makes them pop.


Next, punch some circles from the Color Burst paper.


Adhere the Color Burst circles to the backs of the house images.  Write each task on a tag.


Next, place them in your book file.  As I complete each task, I turn the tag around.  Having them on the counter top  reminds me of my goals. You could easily adapt this project for any other bucket list.


Brooke Bock...Susan K. Weckesser Design Team Member


Monday, July 18, 2016

"It Takes A Village" Mixed media wood blocks


Hi!  This is Joyce and I am excited to be part of the Susan K. Weckesser Design Team.  Mixed media and recycling is a passion of mine, so today I would like to share with you how to create your own village using the wonderful new mini-pop inks, stamps, and scrapbook paper that Susan has created. 

For this project, I used recycled children's wood building blocks.  I made mine reversible, and the roofs can be switched around also.  Another idea would be to make a holiday house on one side and "everyday" on the other.  You can use any size, shape, or combination of blocks, so get creative and have fun!


First, choose your blocks to make a little village.  Slice larger blocks in half on the bandsaw to make roofs.  


Next, tear up strips of old tissue patterns into sections approximately 1" x 3".  Using a foam brush and Decou-page, glue on tissue pieces to cover all sides of your houses and roofs.  Be sure to overlap edges a bit.  Let dry.
 
 
Take your mini-pop ink color and swipe it on all sides of your wood piece.  This covers quite easily and is bright and vibrant.  When dry, use Mystery for a vintage look by swiping the edges.  Continue with all colors until all blocks are colored.


Ink up the Celebration of Simple stamps with the mini-pop inks and stamp onto the Colorburst scrapbook paper for the roof fronts.  Cut out triangles to fit your blocks.  Adhere the pieces with the Decou-page.


Trace the house block shapes onto the Colorburst paper and cut to fit the blocks.  Use both sides of the paper for variety.  Glue the rectangle pieces with Decou-page onto the blocks. 
 
Drill holes 1/4" into roofs for chimneys (screws or springs) to fit.   


With the Doodle Stencil and a cosmetic sponge, pounce Decoart paint colors on house fronts and backs.  Use coordinating paint colors with the mini-pop ink colors.  Let dry.  Using the Mystery ink, go over edges of scrapbook paper. 
 
Cut out magazine words that relate to the home theme.  Distress the edges with Mystery ink.
 
Arrange metal scraps, keys, buttons, dominoes, and magazine words to your liking.  Photograph for reference.  Glue on all paper pieces and words.  Doodle around words and stenciled areas with a ultra-fine sharpie pen and a white gel pen.  Brush over all house surfaces with Decou-page.  Allow to dry.  With foam brush, cover all wood block surfaces with Decoart ultra-matte varnish.  Dry well.  Glue down all metal pieces, dominoes, keys, buttons with E6000 glue.  Also glue in the chimneys with E6000 glue, referring to photo. 


I hope you enjoyed this project and look forward to seeing what you've created with Susan K. Weckesser products. 
 
Joyce Shaulis     For the Susan K. Weckesser Design Team
 
Susan K. Weckesser products:
Celebration of Simple red rubber stamps http://www.unitystampco.com/
Colorburst scrapbook paper
Color Box mini-pop inks: Kiss, Cocoa, Fresh, Sky, Mystery, Ice http://www.clearsnap.com/
 
Other Products:
Decou-page, Decoart paints in True Red, Peacock Teal, Sour Apple, Ultra-Matte varnish  http://decoart.com/


Friday, March 4, 2016

Trash to Treasure

Hello it's Samantha today with a pretty and practical recycling project :)
I just can't bear to throw  away old tins and jars so they usually get decorated and used as something completely different. Susan's house stamps are PERFECT for this!
 I measured my tin from top to bottom of the area I wanted to cover and then measured the diameter and cut a piece of white card to size. I then stamped the designs using silver embossing powder as I wanted something a little different to usual black outlines.
I coloured using my Derwent watercolour pencils and adhered to my tin. String wrapped tightly around keeps it in place whilst the glue is drying!
When I removed the string it I added some flowers and sequin stars a word stamp and it looks like this:
Here it is being used on my desk. The tin next to it has also been decorated now too!!
Much better than throwing them in the trash!! It would make a great plant pot too!
The stamps I used are:
Tumbleweed Houses and they can be found {right here}
and Journal Doodles with a Heart and they can be found {right here}

 I do hope you like my tin and I've inspired you just a little.
Wishing you a lovely day.
Susan K. Weckesser Design Team member

Monday, December 28, 2015

A Reel Snowman

Hello crafty friends, Samantha here today and I would like to share with you a super easy Christmas decoration which is perfect for your tree or mantle.
 I was a complete numb nuts and forgot to take photos during the making process so I hope my directions make things clear for you.
I began with an old wooden cotton reel and gave it a coat of gesso and then painted it pink. I added a turquoise ribbon around the centre. Next I cut a piece of wire and twisted the loop in the middle, which becomes the top and the two ends then go in to the centre hole of the cotton reel and glued in place. The wire also had a couple of coats of gesso and some white acyclic paint along with some glitter for Christmas bling. A cotton wool ball made some fluffy snow. I used a punch to make the snowflakes really easily by punching out of white card and decorating with glitter.
 Finally I stamped the snow person on to white card and coloured using Prismacolour pencils. When cutting him out I didn't go all the way around to leave a tab at the bottom which was used to glue him in place.
Susan's wonderful Snow Way stamp set which is shown below can be found here at Unity Stamp Co.
I do hope you like my snowman and I hope I've inspired you a little. I promise to take photo's next time!!
Wishing you a wonderful day,
Susan K. Weckesser Design Team member

Tuesday, November 17, 2015

Guardian of my Garden

Hello! Samantha here today hoping you are having a lovely creative day where ever you may be.
Today I would like to share with you a very rare thing. I scrapbooked. I think rofl. Technically it's not for a scrapbook but it measures 12 x 12 so in my head it's scrapbook size.
In the northern hemisphere we are now getting in to Autumn so I took the opportunity to remember Summer and this summer I really enjoyed spending time in my garden with my Mini Schnauzer named Poppy. 
 I'm always surprised at just how many creatures I can find in my garden. Those that live there and those that just visit. The only lodgers I don't really like are worms and slugs. Yuk! But I adore the birds and butterflies and ladybugs. They never fail to make me smile.
This year a neighbour gave me a Hydrangea as a thank you gift for looking after his garden whilst he went away. The blooms started off with the most delicate lilac colour. They then changed to a lovely almost bright Barbie pink and the finale is the colour you can see in the photo above. That really is the colour they are now. Beautiful.
The other photo shows Albert. He watches over Poppy and myself and the garden and brings a lovely calmness. In this photo Albert is holding this years Poppy head harvest. He looks rather pleased don't you think?
 As much as I love my garden in the day I also enjoy it during darkness and this summer I enjoyed a wonderful treat in the middle of August when there was the Perseids meteor shower. In just one evening whilst lay on the summer grass I saw dozens of shooting stars and made lots of wishes!
Moon gazing is done almost every night and more recently we had the blood moon eclipse. All in my back garden. Wow.
Back to my 'pages' as you can see it is made of cardboard. I just love a bit of recycling. I peeled away some of the cardboard cover to reveal the corrugated part underneath which adds a layer of depth. I cut it in two 4.5 inches in on one side and tied with garden twine and some crafty bakers twine. The whole area was given a thin layer of gesso leaving some bare cardboard showing through.
I decorated using some cloud design washi tape and tree bark butterflies. The tree decoration was made by making a paper cast of the stamp from the At Ground Level stamp set. This is easily done by spritzing your stamp well with water and then using a brush push some kitchen paper or toilet paper in to the stamp and repeating this step 5 - 6 times. Allow it to dry overnight and then give a coat of gesso to make it stronger and seal it. I painted it to match the green of Albert's harvest and added some sequin blossoms.
I used Susan's Doodle Stencil for the wavy line at the bottom representing grass and also to add the white flowers which give another layer of texture and a little brightness. I used Journal Doodles with a Heart stamp set for all the stamped images and used a neutral brown to match the cardboard and to make the green and pinks pop. Finally a little sparkle was added to the stars to make them twinkle.
As mentioned I used:
AT GROUND LEVEL which can be found HERE
JOURNAL DOODLES WITH A HEART which can be found HERE
and DOODLE STENCIL which can be found HERE
I do hope I have inspired you and I wish you a lovely day
Susan K.Weckesser Design Team member

ShareThis2

BrendaPInnickColorCafe