Showing posts with label What's Up Gnomey? stamp. Show all posts

Sunday, November 13, 2016

Live In Color Tag Ornaments

Hi Friends!  Joyce Shaulis here today with another November tag project.  For this project, I recycled drink coasters and turned them into ornaments.  There are a variety of shapes available anymore, so that makes it more fun.  For these, I used ones that were 4" x 4". 


To begin, I cut out four images from the Live in Color Tag scrapbook paper. 


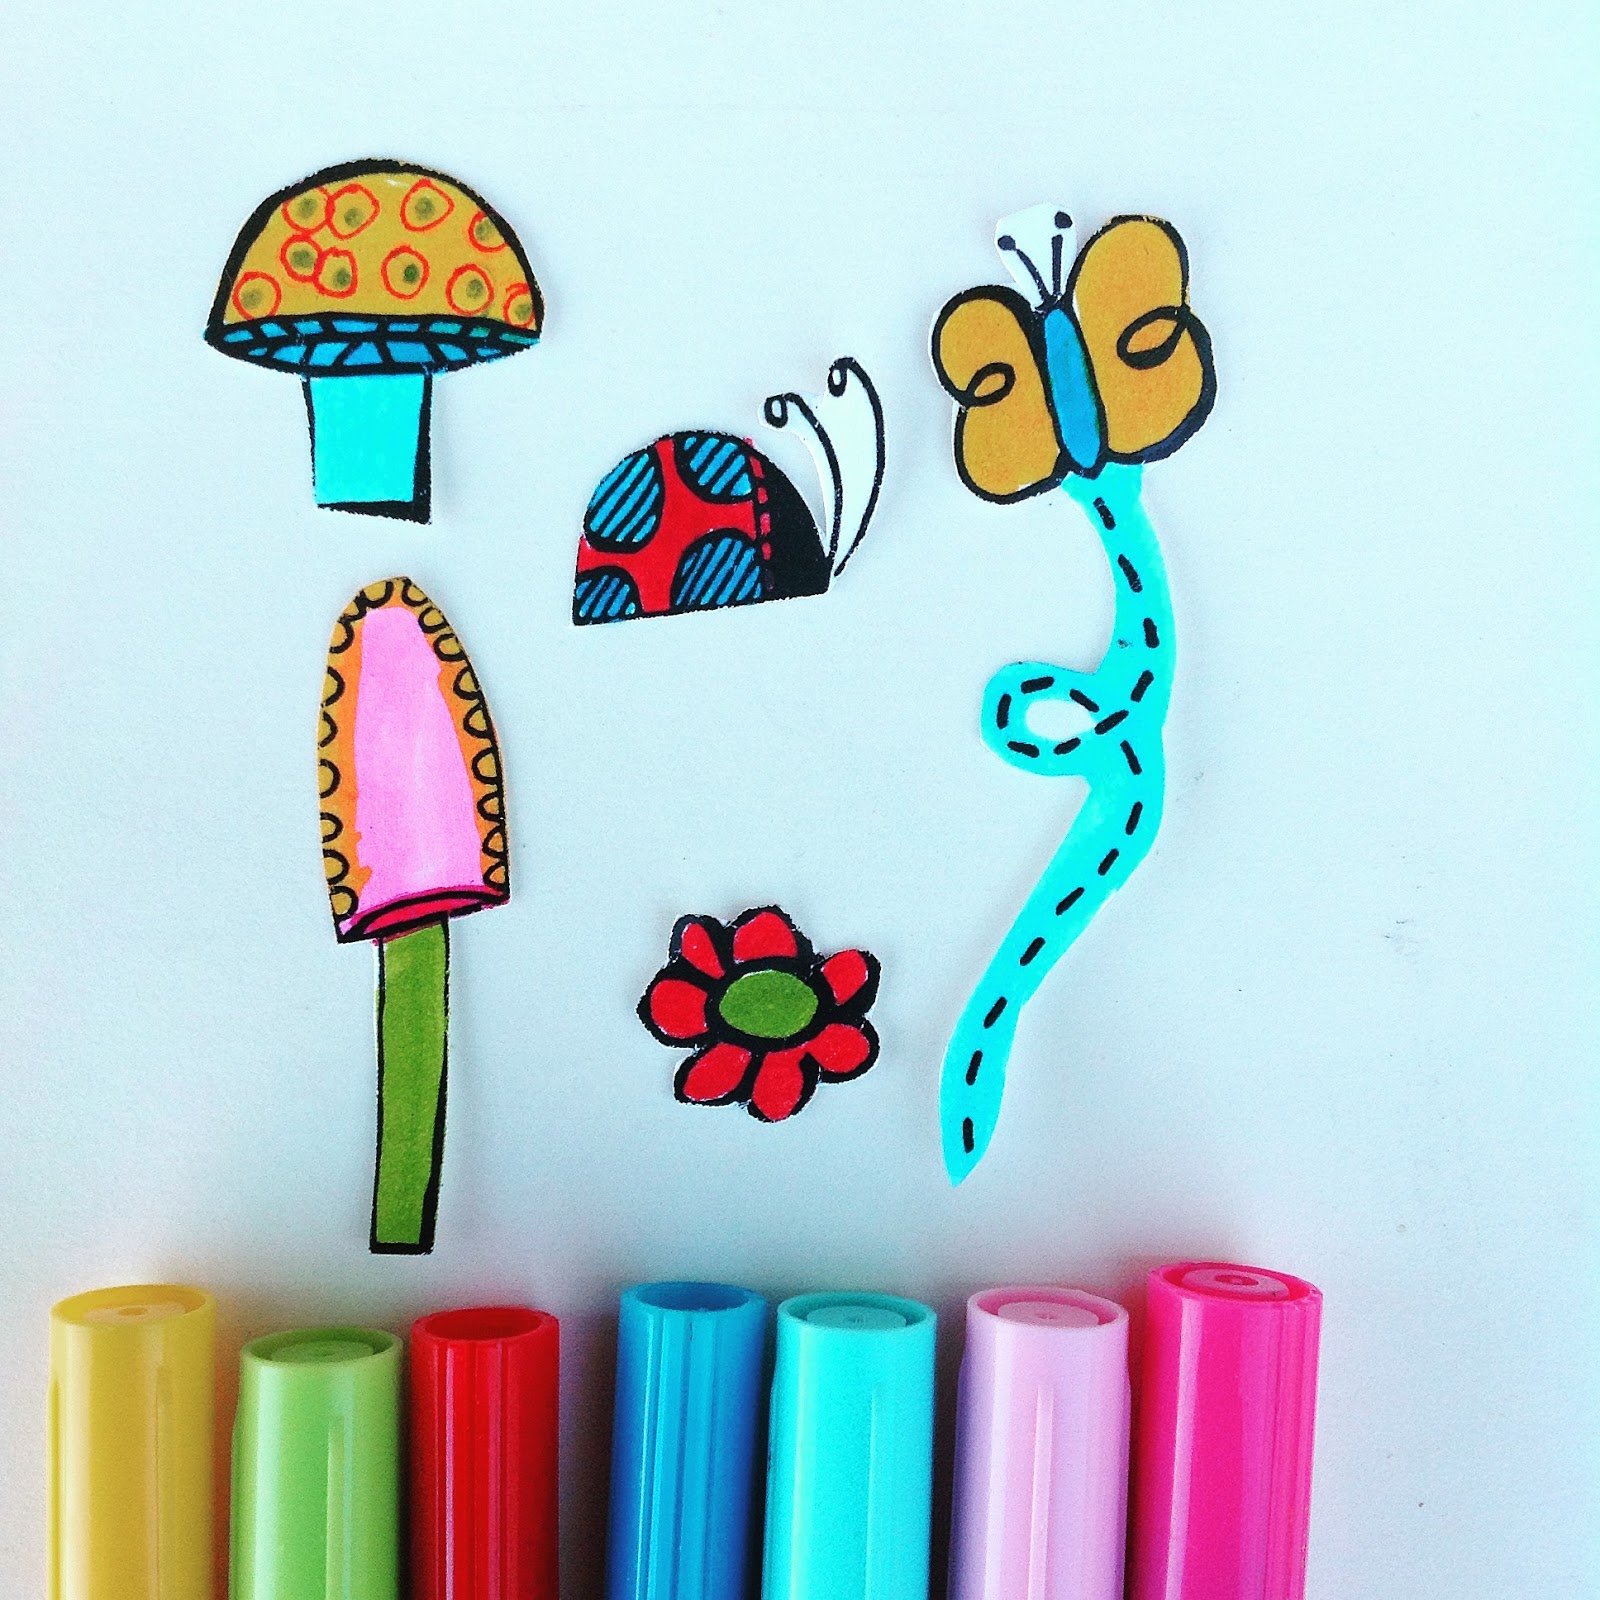
I stamped onto white cardstock with Mystery, color POP mini ink and the stamp set, Unicorns and Rainbows.  I also used some of the mushrooms, flowers, and bugs from the What's Up Gnomey? set. 


I used markers to color in the Unicorn and Rainbow images and cut them out. 


I also colored in mushrooms, flowers, a butterfly, and a ladybug from the What's Up Gnomey? stamp set and cut them out. 


Using Decoart's Decou-Page and an old paintbrush, I glued the tags onto the four coasters.  Then I glued the cut out images with Decou-page on top of the tags. 


Next, I took the mini POP inks and swiped the edges of the coasters.  For these four, I used Kiss, Fresh, and Ice. 


With a charcoal pencil, I outlined the images and the lines on the tags.  I smudged lightly with a Q-tip.  Then I coated all the coasters with the Decou-page.  After drying, I coated them all with Ultra-Matte varnish. 


Choosing from my sequin and jewel stash, I glued an assorted variety onto the coasters with white glue. 


I then used a paper punch to punch two holes into the upper corners.  Then, I used a 12'-14" piece of ribbon to tie in the holes, making a loop in the center of the ribbon.


These can be used as tags and double as ornaments.  I think they'd be a cute addition for a birthday or baby present.  I hope you enjoyed my project and that it will give you some ideas to recycle those drink coasters.
 
 
Joyce Shaulis        Susan K. Weckesser Design Team Member
 
 
Susan K. Weckesser products:
https://www.unitystampco.com/  Unicorns and Rainbows, What's up Gnomey?
https://www.clearsnap.com/ Mini POP inks in Fresh, Mystery, Ice, Kiss
Live in Color scrapbook paper
 
Other Products Used:
https://decoart.com/   Decou-Page, Ultra-Matte Varnish
https://kuretakezig.us  colored markers
white cardstock
white glue
paper coasters
assorted ribbons, jewels, sequins
charcoal pencil
scissors, paper punch
Q-tip


Wednesday, November 9, 2016

Home Time Tags

Hi everyone, Steph here today.   This month's theme is tags so I've created two tags using an assortment of Susan K. Weckesser products.


I've used plain office supply tags as the bases and cut the Live in Color paper to fit the tags, edging it with Shimmer Color Pop Ink.
 
 
Using the Doodle Stencil with assorted colors of Color Pop Inks, I created a background pattern, then put the house #s inside the circles. Some torn strips of paper were added to the bottom of the tag and several Tumbleweed Houses were stamped, colored, fussy cut and added to the tag with foam adhesives.  I used "home" from the What's Up Gnomey stamp set. 

 
Using Color Burst paper, I cut it to fit the tag.  I fussy cut a flower from the Live in Color paper, adding it to the tag with foam adhesives.  Several dew drops were then added to the flower center.  I used "home" from the Tumbleweed Houses stamp set and the phrase from the What's Up Gnomey stamp set. 


Using the Doodle stencil, I created the house #s, but didn't like where I first stamped them so I added a dew drop to the center creating a butterfly.  Then I put the house #s in the correct spot.


On the reverse side of the tag I created a pocket to hold a check.

Thanks for stopping by today.

Steph Ackerman
Susan K. Weckesser Design Team

Tuesday, November 8, 2016

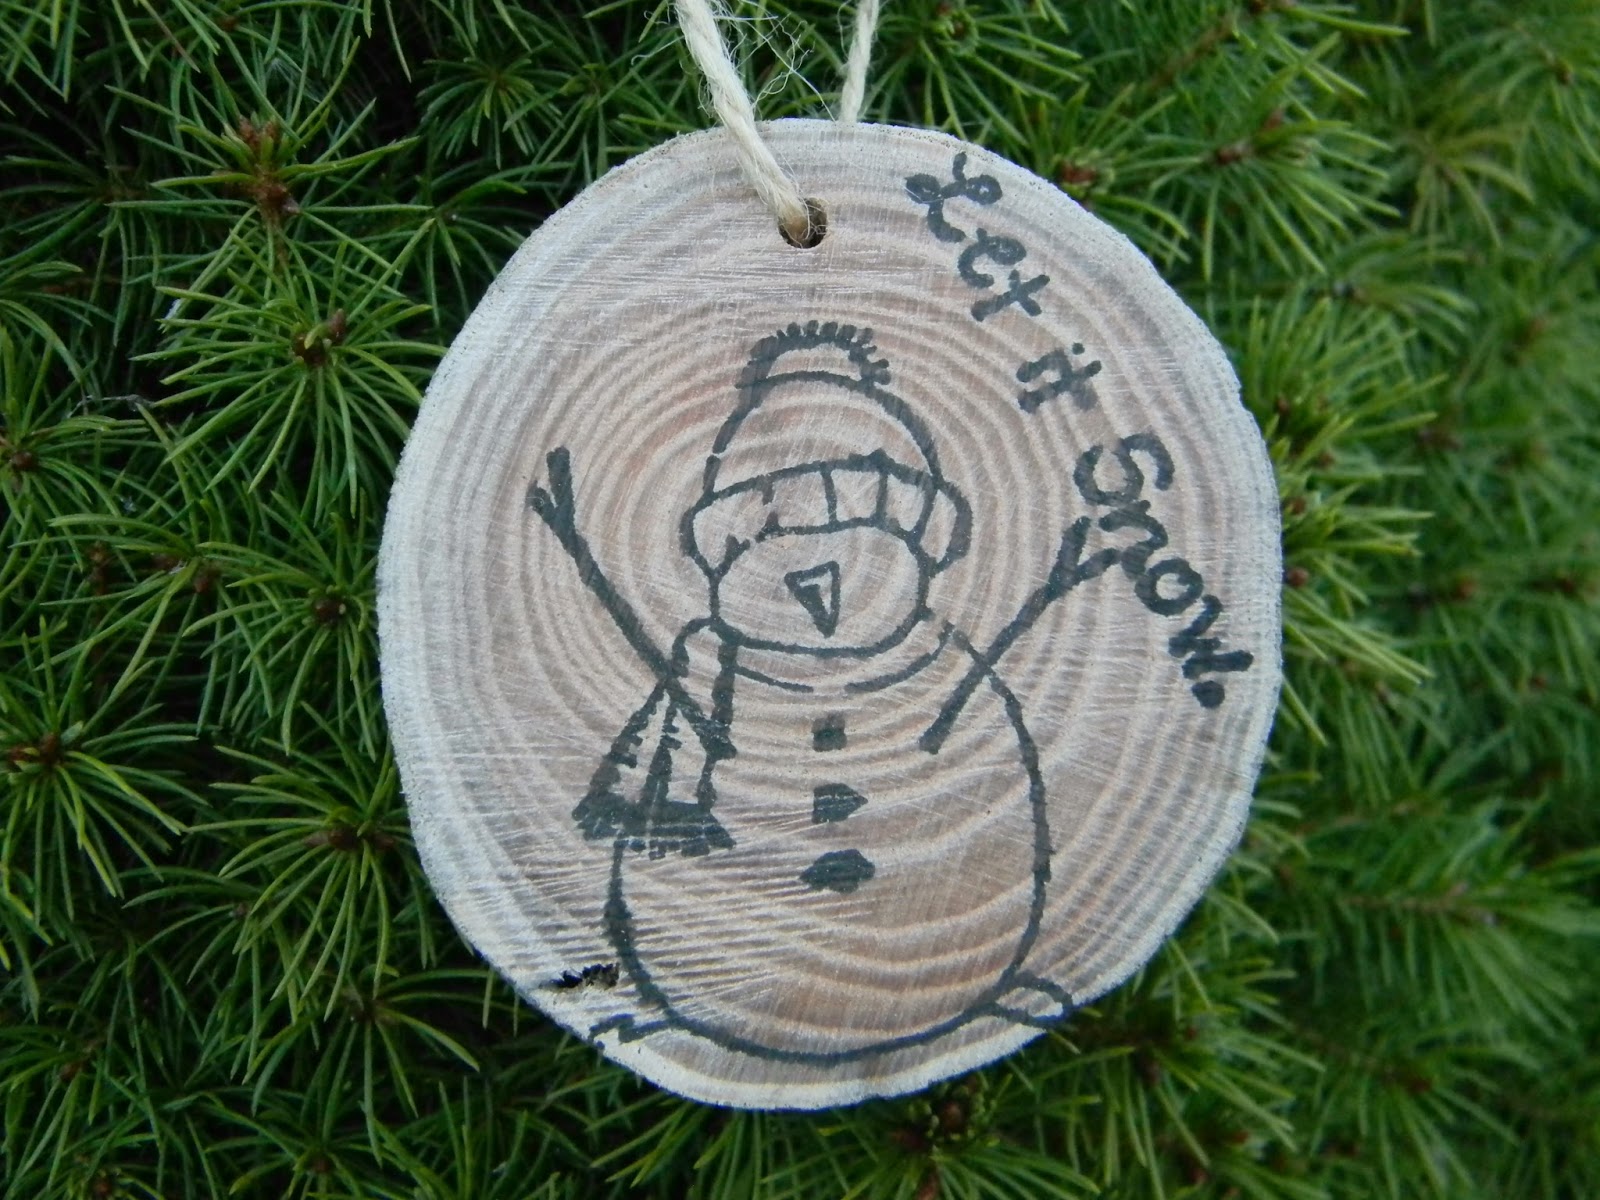
Rustic Tree Slice Tags

Hi there folks!  Brooke Bock here today.  This month we are all working on tags.  When I think tags, I think pretty little ways to mark presents.  With Christmas coming, I wanted something simple and rustic that would be usable after the holidays.  So I broke out the power tools and a log from the wood shed and some of Susan's stamps to make one of my favorite projects yet.


I mean, really....How cute are these?  I love the woodland creatures from the Going Wild Set and What's Up Gnomey? set.  They both seemed perfect for this project.


And for the holidays, this little snowman from the One of a Kind {Christmas Campaign} fit the bill.


So to get started you need wood rounds.  I cut mine myself from a log, as I mentioned and sanded them on the belt sander.  You can buy a bag of them at the craft store or kindly ask your woodworker friend to slice off a few for you. Drill a hole in each one with your drill or a drill press.


And then simply stamp each design with Susan's Color Box Color Pop stamp pad. I used Whisper.  I like the simplicity of black but the colors would be fun too.


Seriously, these took seconds to make once I had the wood rounds.


And the great thing is, I can just write the person's name on the back and attach it to their package.  I am  a huge fan of brown craft paper for gift wrapping.  These will complement it nicely.  and after the packages have been opened, these tags will not go in the trash....  No way!


They will make cute tree decorations for years to come.  I love that.  No waste for the landfill, took me a tiny bit of time and they are so adorable thanks to Susan's whimsical designs.


Hope you love them too.

Brooke Bock from the Susan K. Weckesser Design Team 2016.

Thursday, October 20, 2016

Fun Fall Card

I am Brooke Bock from the Susan K. Weckesser Design team and I am thrilled to join you here today.  I love Susan's Stamp designs because they are so whimsical.  I especially love this little Gnome from her What's Up Gnomey? stamp set.  He seemed just the perfect little character to peek in to this fall card.

Let's gather supplies:
Card Stock Scraps
Vintage Buttons
Glue Stick
Glue Gun/Glue Sticks
Acrylic Block
Let's get started...
Cut and fold card.
Cut out leaves and ink edges.
Stamp gnome on card stock.

Layer and adhere leaves, gnome and background for gnome to the card.
Use glue gun to adhere buttons.

I think he makes the perfect little fall friend.  What do you think?

Brooke Bock Susan K. Weckesser Design Team 2016

Thursday, October 13, 2016

Home Where Our Story Begins

Hello friends. Larissa here with you today. I am using two different stamp sets from
Susan K Weckesser. 


First I used one of the little houses from 


Secondly I used the three mushrooms and leaves stamp from
What's Up Gnomey? 


I stamped the leaves over the entire card front with Stampin Up Slate Gray ink. I stamped some off first on a piece of scratch paper then onto the card front. 
I then stamped the mushrooms down at the bottom of the card using Stampin Up Real Red Ink. I stamped the house in the middle of the mushrooms using Colorbox® Color Pop Archival Dye Ink by Susan K. Weckesser in Mystery.
I colored the leaves using Prismacolor Pencil in True Green.
For the mushrooms and grass I used Distress Inks in Mowed Lawn and Peeled Paint. The house I used Distress Ink Weathered Wood. 


For the sentiment: I actually have seen this sentiment on a few signs in friends homes and I thought it would fit perfectly. So I wrote it across the card front. 


I hope you enjoyed my card today. Have a wonderful rest of your day friends.

Larissa Pittman 

Tuesday, October 4, 2016

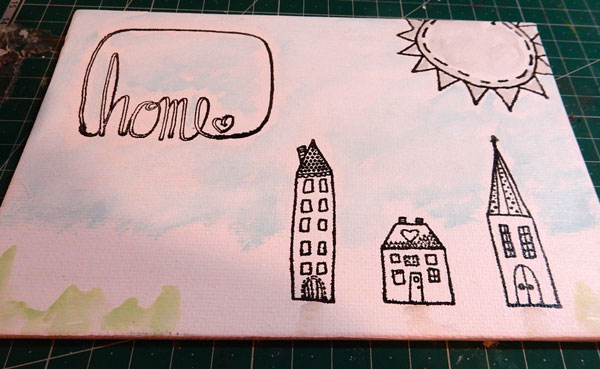
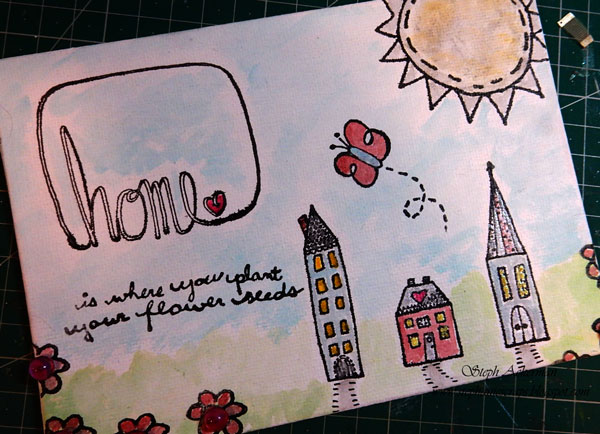
Home Canvas Panel

Hi everyone, Steph here today.  Can you believe it's October already?  This month it's all about mixed media so I've created this cute Home Canvas.


I've started by stamping an assortment of Unity stamps from the Tumbleweed Houses and Fly Away stamp sets.

 
Using  Colorbox® Color Pop Archival Dye Ink by Susan K. Weckesser in Mystery, I stamped all the elements on the panel.
 
 
Using a waterbrush, I then used  Colorbox® Color Pop Premium Dye Ink by Susan K. Weckesser.  I brushed in Ice Ink for the Sky, Fresh Ink for the grass and Cocoa Ink for the pathways.


I stamped the butterfly and flowers from the What's Up Ghomey? stamp set, coloring them with Kiss and Ice.  Then I continued brushing in colors to finish the canvas. 

 
I used some Clearsnap Smooch Accent Inks to add color to the windows and flowers.  Finally I stamped the phrase with Mystery ink, masking off the first few words.


Thanks for stopping by today.

Steph Ackerman
for Susan K. Weckesser


Monday, October 3, 2016

Woodland Gnome Hideaway

     Mixed Media Mania!  I love mixed media and I love to recycle in my art.  Hi!  This is Joyce Shaulis here today to show you how to make a cute gnome woodland hideaway using an ostrich egg shell and Susan's fabulous mini POP inks and her adorable gnome stamp set. 


To begin, I used the mini POP ink from Clearsnap, in Mystery and Susan's co-branded stamp set,
What's up Gnomey?  I stamped out multiple pieces on white cardstock.


For the background of the hideaway scene, I smudged Ice ink on a half of sheet of rice paper.  I then smudged Sky over top of the Ice.  On the other half of the rice paper, I smudged Fresh ink and then Cocoa on top of that.  Neutral or white tissue paper could be used as well if no rice paper is available.


I then used the mini POP inks like watercolors.  I pressed the ink pad onto a foam palette and then I was able to paint with a watercolor brush.  For this project, I used Ice, Sky, Fresh, Cocoa, Mystery, and Shimmer. 


Next, I brushed Decou-Page on the inside of the ostrich egg and smoothed out the inked rice paper.  I overlapped to cover all areas.  Wrinkles give a nice textured affect.  I then brushed overtop the adhered paper with more Decou-Page.


Using the back side of the "Live in Color" scrapbook paper, I cut small pieces in geometric shapes approximately 3/4" x 1/2".  I used modeling paste and a palette knife to smear small sections of paste and then I directly adhered the cut paper pieces.  I applied the paste about 1/8" thick or less.  I covered the whole exterior of the egg with the paper mosaic.  I allowed it to dry overnight, then I coated each paper piece with the Decou-Page.  I let this dry and then I sprayed the whole exterior and interior with a matte acrylic spray. 


I cut out all the gnome stamped and painted pieces.  I edged them all with the Mystery ink.  Then with hot glue, I glued wood picks to the back of all the pieces for stiffness, allowing about 1/4" of the pick to stick out from the bottom. 


I stained three wood balls with Ice, to be used as feet for the egg.  I adhered the balls to the bottom of the egg with modeling paste.    


With natural items like bark, wood, alder cones, acorns, I started hot gluing them inside the scene working from the back to the front. 


I continued to decorate the woodland hideaway, adding natural pieces and putting in my gnome.  I used reindeer moss and glued all around the edge of the egg, adding acorns and the painted leaves. 


I glued in the painted mushrooms and flowers.  I then embellished with tiny dried straw flowers. 


I hope you enjoyed my mixed media piece.  I am sure you can be creative and find other items to use for a woodland hideaway if you don't have an ostrich egg available.  Thank you for visiting and feel free to leave a comment. 
 
 
Joyce Shaulis     Susan K. Weckesser Creative Design Team Member
 
 
Susan K. Weckesser Products: 
 
What's Up Gnomey?  https://www.unitystampco.com/
Mini POP inks https://ww.clearsnap.com/  Mystery, Kiss, Fresh, Shimmer, Fresh, Cocoa, Sky
Live in Color  scrapbook paper
 
Other Products:
hot glue and glue gun
rice paper
empty ostrich egg
3  1" wood balls
straw flowers
modeling paste
acrylic matte spray
nature findings: wood, bark, acorns, alder cones


ShareThis2

BrendaPInnickColorCafe