Showing posts with label Susan K. Weckesser and Unity Stamps. Show all posts

Monday, February 11, 2019

Whimsical Stationery With Gone Wild Stamp Set


          Hello crafty friends

I love cute stationery and have been collecting bits here and there for a while now so it was only a matter of time before i created my own whimsical stationery using the Gone Wild Stamp Set by Susan K Weckesser and Unity Co Stamps.


Product list

Trimcraft First Edition Marker Pens
White pen
Large paper clips
Hot Glue
Sentiment stamps
Note book 


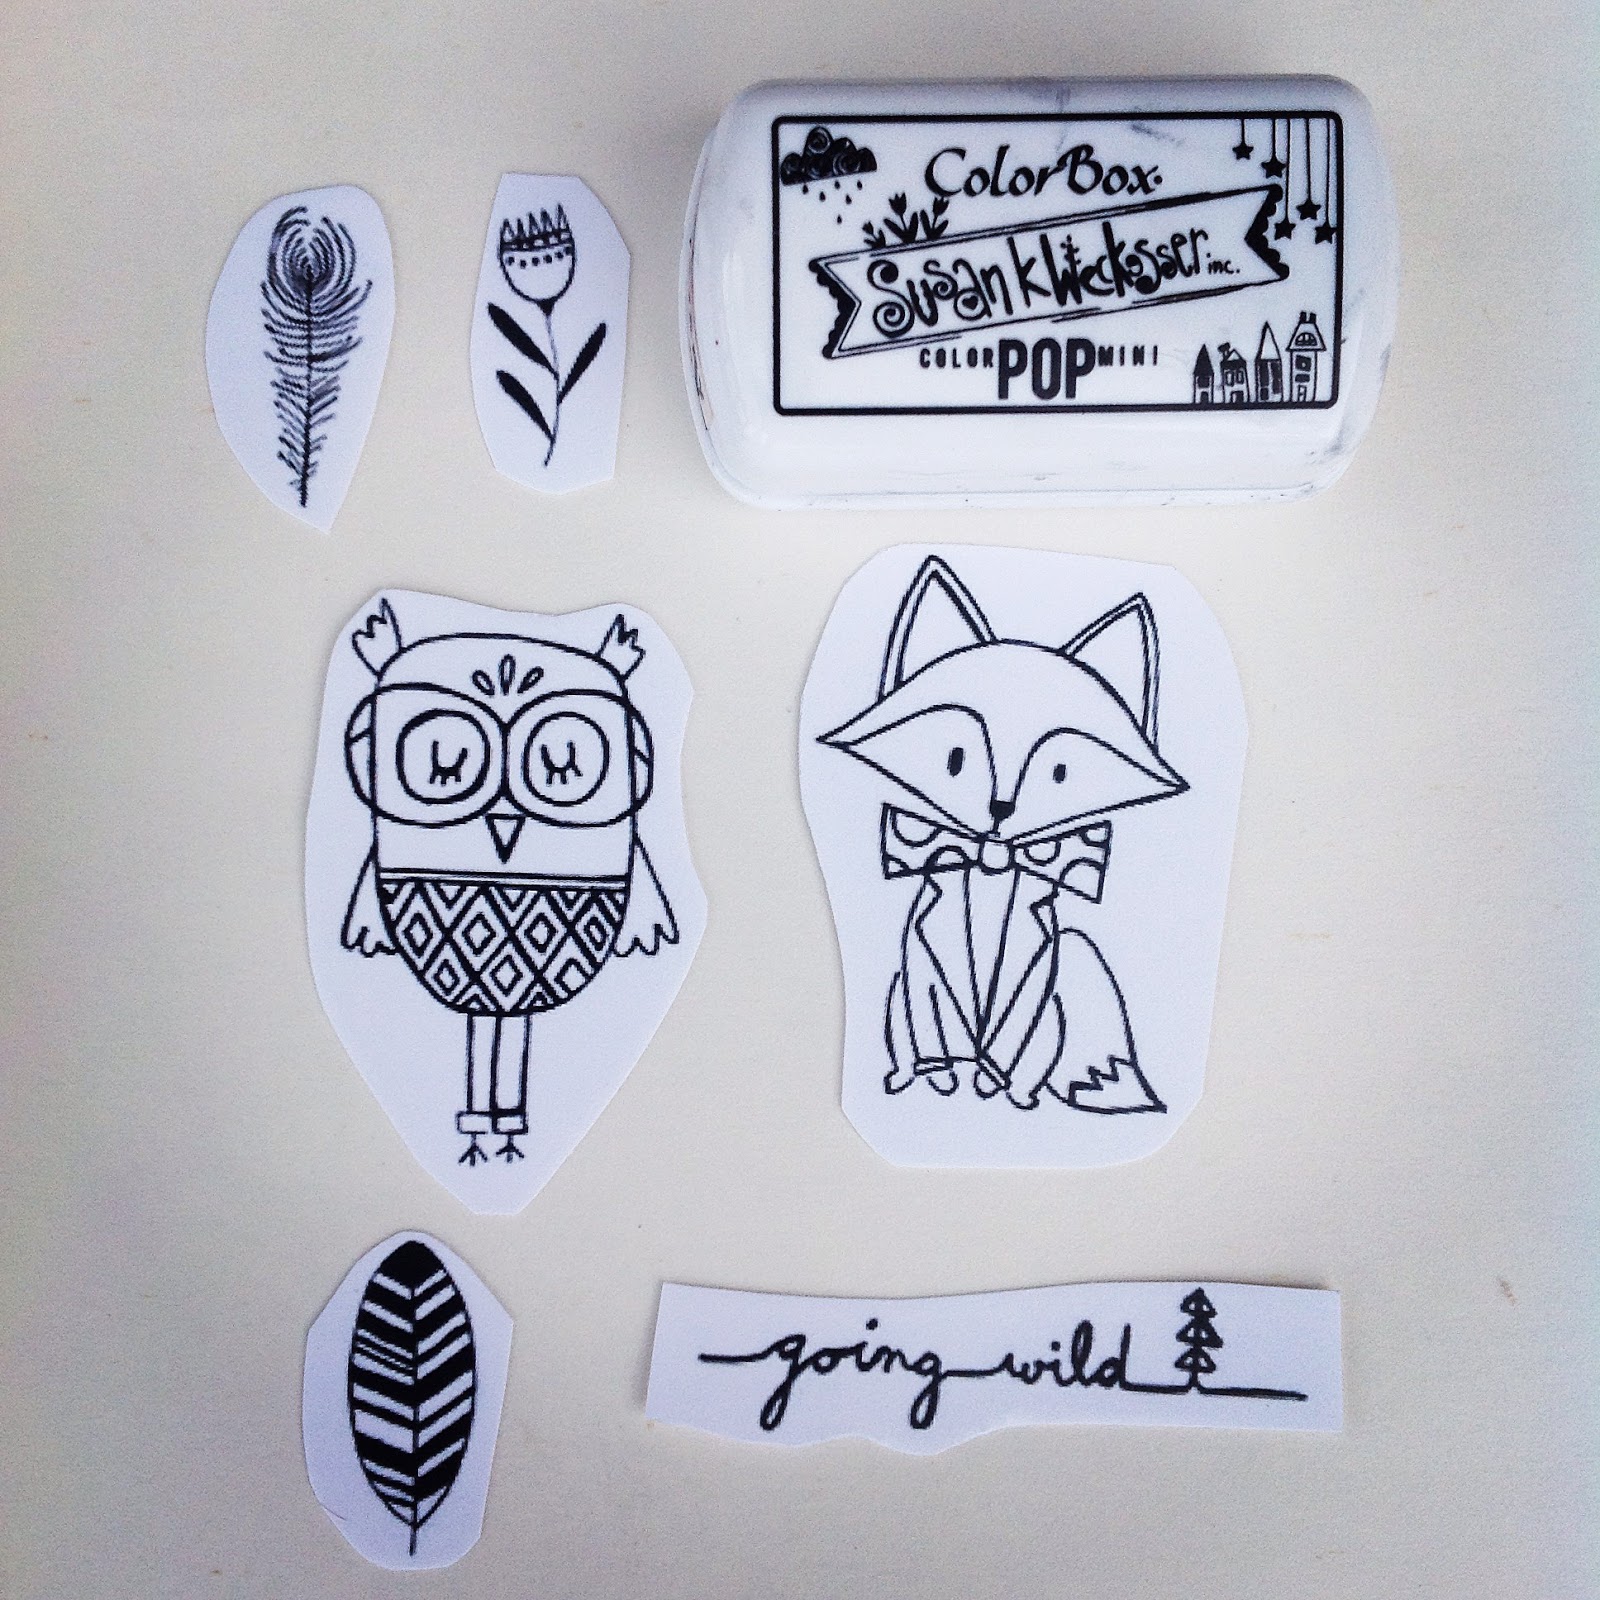
I started off by stamping out my favorite two characters on to thick card stock and coloring them in. I then bought some large paper clips and glued the characters to the back with hot glue. You could put them through a laminator to make them more durable.


The Note book was altered by stamping the main image at the bottom corner and then stamping a boarder around it. I added a few feathers to break the pattern a bit.


I wanted to include something in the center so i choose a few inspiring words.


I colored in the details with a white gel marker


Thank you for visiting

Friday, December 30, 2016

Stamped clips

Hello my dear crafty friends!
Welcome to my new small tutorial made for Susan K Weckesser's blog.
This time I decided to make something for the planners trend. And as I don't even have a planner, but I do use  small notebooks, I made a few stamped clips for my notebooks as dividers.
So here is my tutorial:
1. Stamp Susan's  houses with her Clearsnap ColorBox mini Pop ink in Mystery color twice using co-branded with Unity Tumbleweed Houses stamp set.


2. Color the houses with Susan's other Clearsnap inks in Fresh, Ice, Sky and Kiss colors and as there is no Susan's yellow ink I used another Clearsnap ink in yellow. Don't try to make the best ever coloring and don't afraid to be out of the lines as we are going to cut the houses later.


3. Cut all colored houses and make them 3d using 3d foam glue.
Glue the house over plastic office clips with strong paper to plastic glue.
Use them!


Wednesday, December 7, 2016

Snowflake Kisses

Hi everyone, Steph Ackerman here today using a sweet new stamp set from Unity called Hello Winter.  This stamp set contains 9 stamps of assorted sizes and today I wanted to focus on the Winter Girl.


I colored her with Copic Markers then die cut her with Spellbinders dies.  She looks so cute!!!  A light edging of Shimmer Metallic Pigment Ink was added before I matted her with brown cardstock.

 
Using the Bouquet paper from the Live in Color Collection, I placed her on top, then added the sweet sentiment which I also die cut. 
 
Around the card I tied ribbon, then added the panel with foam adhesives.
 
 
Thanks for stopping by today.
 
Steph Ackerman
Susan K. Weckesser Design Team


Monday, December 5, 2016

Festive Jars with Snow Way Stamp Set

Hello crafty friends

The theme for this month over on the Susan K Weckesser team blog is Craft some Love. The idea is to create a home made gift to give out to someone even a stranger. Just spread the love.


I altered these jars i bought from Poundland and used the DecoArt Chalky Finish Glass Paint to alter the colour. It will take two coats and a day to fully dry before you seal it. I put the lid on a bit too early and took off a layer of paint.


I used Susan's Snow way stamp set to create these cute watercolor tags.


I decorated the jars with anything that sparkled including tinsel trims and gems. I used a hot glue gun to hold everything in place.


For this one i glued pearl beading around the base and used blue gems for a more icy look.


I used big red flat back pearls for berries


I used the Clearsnap Color Pop Mini inks to color the tags and mixed Fresh with Night to get a darker green. I mixed the two blues together to get a lighter shade.


Thank you for visiting

Sunday, November 13, 2016

Live In Color Tag Ornaments

Hi Friends!  Joyce Shaulis here today with another November tag project.  For this project, I recycled drink coasters and turned them into ornaments.  There are a variety of shapes available anymore, so that makes it more fun.  For these, I used ones that were 4" x 4". 


To begin, I cut out four images from the Live in Color Tag scrapbook paper. 


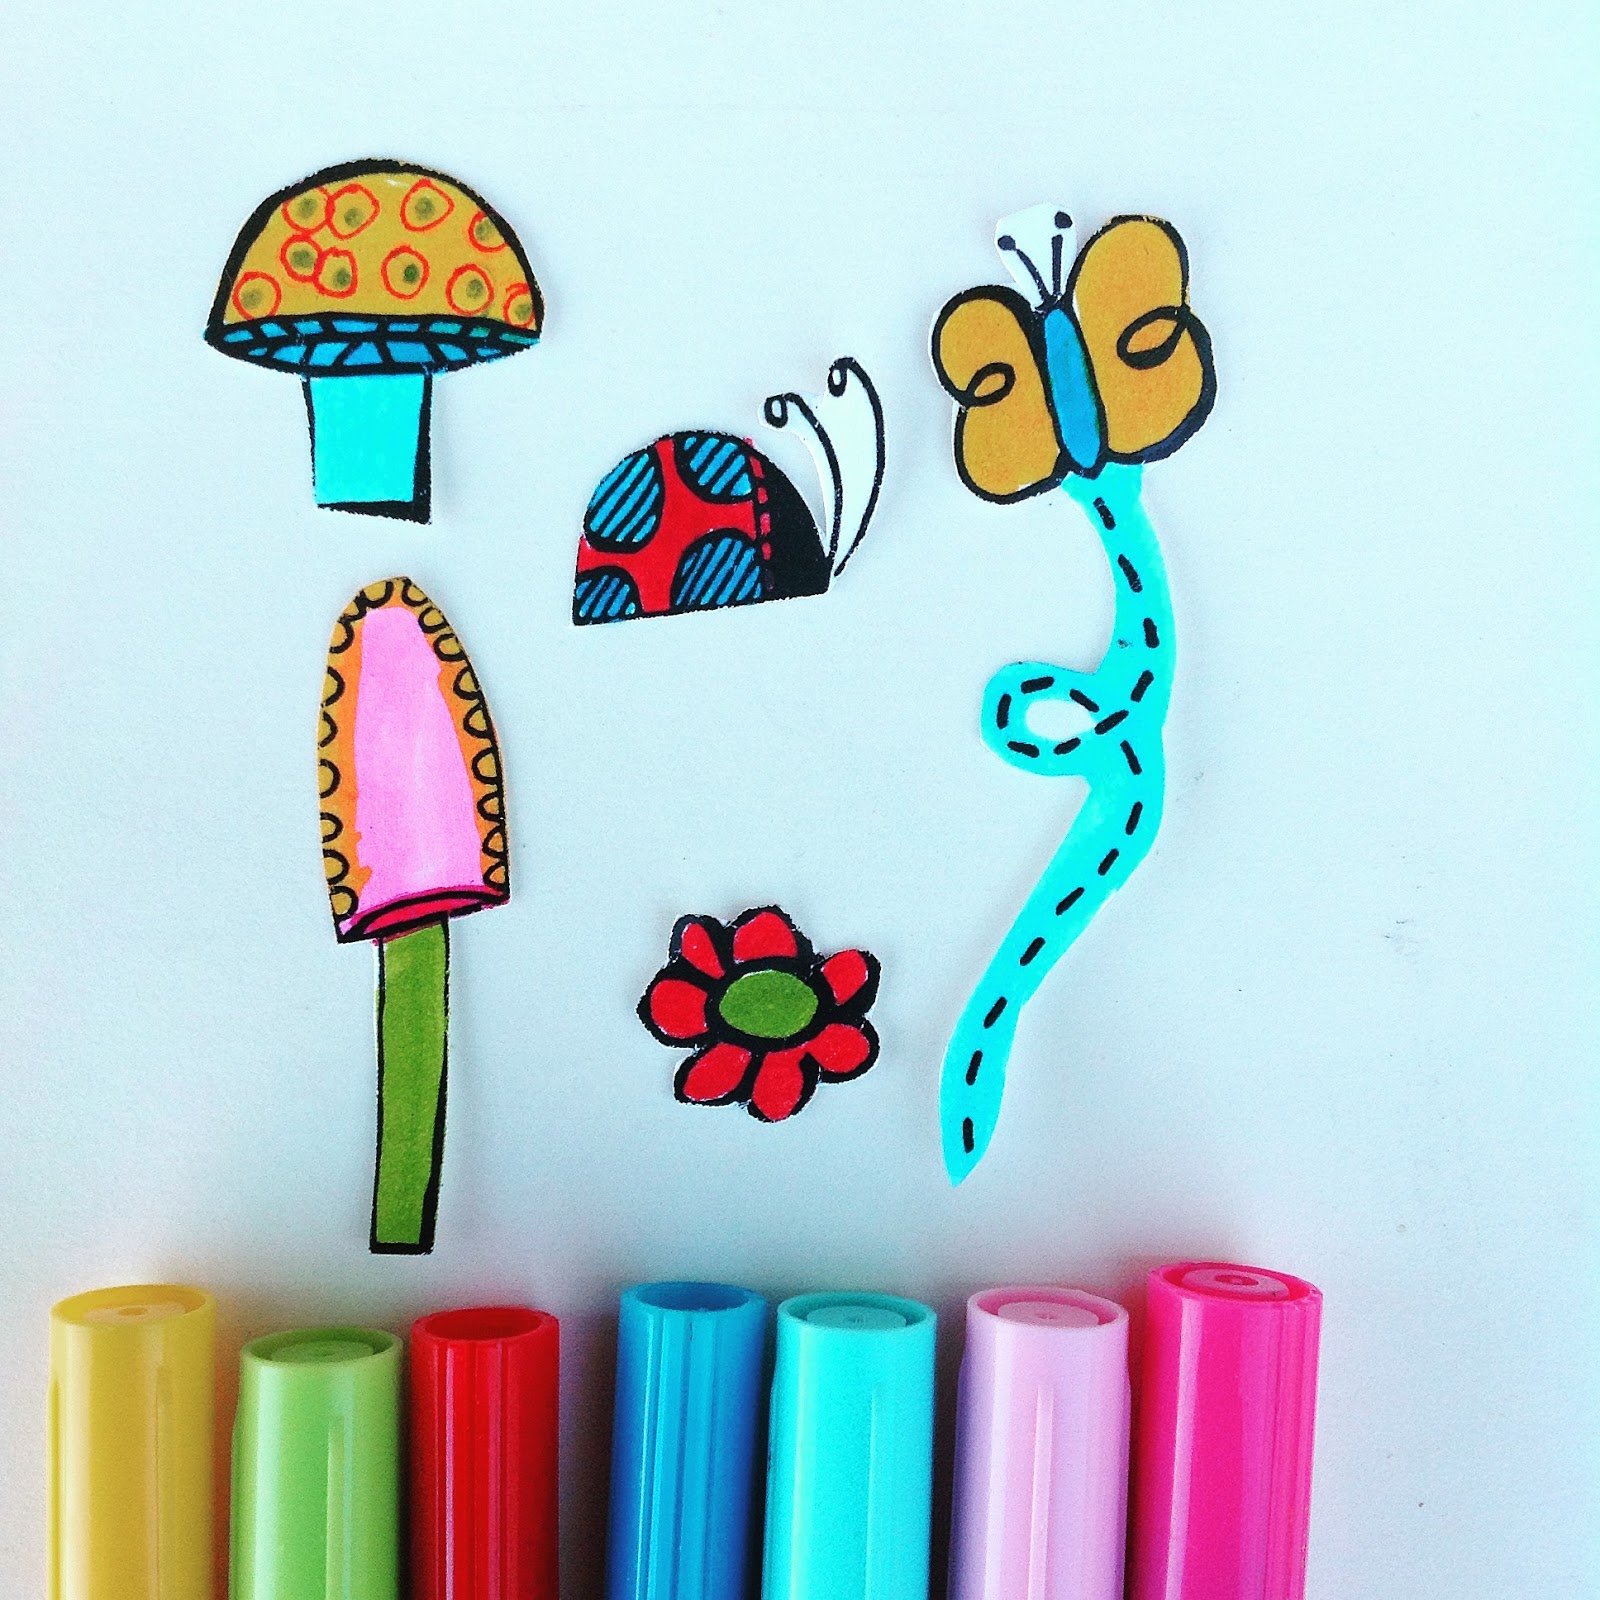
I stamped onto white cardstock with Mystery, color POP mini ink and the stamp set, Unicorns and Rainbows.  I also used some of the mushrooms, flowers, and bugs from the What's Up Gnomey? set. 


I used markers to color in the Unicorn and Rainbow images and cut them out. 


I also colored in mushrooms, flowers, a butterfly, and a ladybug from the What's Up Gnomey? stamp set and cut them out. 


Using Decoart's Decou-Page and an old paintbrush, I glued the tags onto the four coasters.  Then I glued the cut out images with Decou-page on top of the tags. 


Next, I took the mini POP inks and swiped the edges of the coasters.  For these four, I used Kiss, Fresh, and Ice. 


With a charcoal pencil, I outlined the images and the lines on the tags.  I smudged lightly with a Q-tip.  Then I coated all the coasters with the Decou-page.  After drying, I coated them all with Ultra-Matte varnish. 


Choosing from my sequin and jewel stash, I glued an assorted variety onto the coasters with white glue. 


I then used a paper punch to punch two holes into the upper corners.  Then, I used a 12'-14" piece of ribbon to tie in the holes, making a loop in the center of the ribbon.


These can be used as tags and double as ornaments.  I think they'd be a cute addition for a birthday or baby present.  I hope you enjoyed my project and that it will give you some ideas to recycle those drink coasters.
 
 
Joyce Shaulis        Susan K. Weckesser Design Team Member
 
 
Susan K. Weckesser products:
https://www.unitystampco.com/  Unicorns and Rainbows, What's up Gnomey?
https://www.clearsnap.com/ Mini POP inks in Fresh, Mystery, Ice, Kiss
Live in Color scrapbook paper
 
Other Products Used:
https://decoart.com/   Decou-Page, Ultra-Matte Varnish
https://kuretakezig.us  colored markers
white cardstock
white glue
paper coasters
assorted ribbons, jewels, sequins
charcoal pencil
scissors, paper punch
Q-tip


Thursday, November 3, 2016

Walking On The Wild Side

Hi!  "Change is in the air" is our November theme and we are creating tags.  This is Joyce Shaulis sharing with you my creation of some fall tags.  I love creating tags and I make them often for the satisfaction of being able to complete an awesome project in a short amount of time.  They are fun to give away and to make in theme sets.


To begin, I used Mystery mini POP ink to stamp onto white cardstock along with Susan's co-branded stamp set, "Going Wild".


Next, I colored in the images with fall colored markers and cut them out.


Using Decoart acrylic paints, I painted two tags using Sour Apple, Tangerine and Bright Yellow with a wide paintbrush. 


With two sizes of sequin waste, I used Cocoa ink and Fresh ink to stamp through the stencils. 


Next, I used a small brush to make plaid lines and squiggle lines with the paints in Sour Apple, Bright Yellow and Deep Burgundy. Using a cosmetic sponge and the doodle stencil, I was able to stencil the numbers in Bright Yellow paint.


Then I adhered the colored, cut out images with Decou-page.  I also smudged the edges of the tags with Cocoa ink. 


Using a charcoal pencil, I outlined the images and gently smudged them with a Q-tip.  For added dimension, I smudged the tag edges in Mystery. 


I hope you enjoyed my little project and now I invite you to also 'take a walk on the wild side" and create some fall tags to share. 
 
Joyce Shaulis                  Susan K. Weckesser creative design team member
 
Susan K. Weckesser products used:
https://www.clearsnap.com/  mini Pop inks in: Mystery, Fresh, Cocoa
 
Other Products used:
https://decoart.com/  Decou-page, acrylic paints : Bright Yellow, Sour Apple, Tangerine, Deep Burgundy
cosmetic sponge
charcoal pencil
sequin waste in two sizes
 

Wednesday, November 2, 2016

A Foxy Hello

 Hello Friends. Larissa here with you today. I am so happy we are about to get some Fall weather here in Texas. We usually have 2 seasons here Summer and Winterish. Never get snow!!

Today I am using this adorable stamp set Going Wild. 
SB-1302A-GOING-WILD
I stamped the fox onto a piece of white cardstock and colored him using Prismacolor Pencils and blended with OMS.
I then cut him out and grabbed some pattern paper from Doodlebug Designs Forest Friends Paper pad. I also die cut the word Hello. 
I adhered everything to the card base using my ATG except for the Fox which I popped up with foam tape.
I tied a piece of brown ribbon around the bottom of the card to finish it off.


I can't wait to use him on other cards.
Hope you enjoyed my post today and don't forget to check back always for inspiration from the amazing Creative Team.

Have a wonderful day. 


Wednesday, October 26, 2016

Believe In Yourself Art Journal


Hello all

I am back with another mixed media journal page for the Susan K Weckesser team. The theme on the blog this month is mixed media and one of my favorite themes. 


I started off by applying modeling paste around the page using a stencil and then i spritzed DecoArt Media Misters on top. I spritzed water over to dilute the colors.


Next i added more colors using acrylic paint which i painted on in blocks of color. I then used the In Circle Me stamp to add a textured layer to the background. I used a stencil with black modeling paste for the quote and writing. I let it all dry and then added another layer of stencils.


I used the A Little Grunge Love stamp set and used the Clearsnap Color Pop Mini inks to color them with. I glued them down and once dry i went over the top with a stencil to create a textured effect.


I used the A Little Bit Washi stamps and stamped them on to tissue paper. I learned this trick of Susan and this way you can position the images before gluing them down.


Thank you for visiting 

ShareThis2

BrendaPInnickColorCafe