Showing posts with label Doodle Stencil. Show all posts

Thursday, November 3, 2016

Walking On The Wild Side

Hi!  "Change is in the air" is our November theme and we are creating tags.  This is Joyce Shaulis sharing with you my creation of some fall tags.  I love creating tags and I make them often for the satisfaction of being able to complete an awesome project in a short amount of time.  They are fun to give away and to make in theme sets.


To begin, I used Mystery mini POP ink to stamp onto white cardstock along with Susan's co-branded stamp set, "Going Wild".
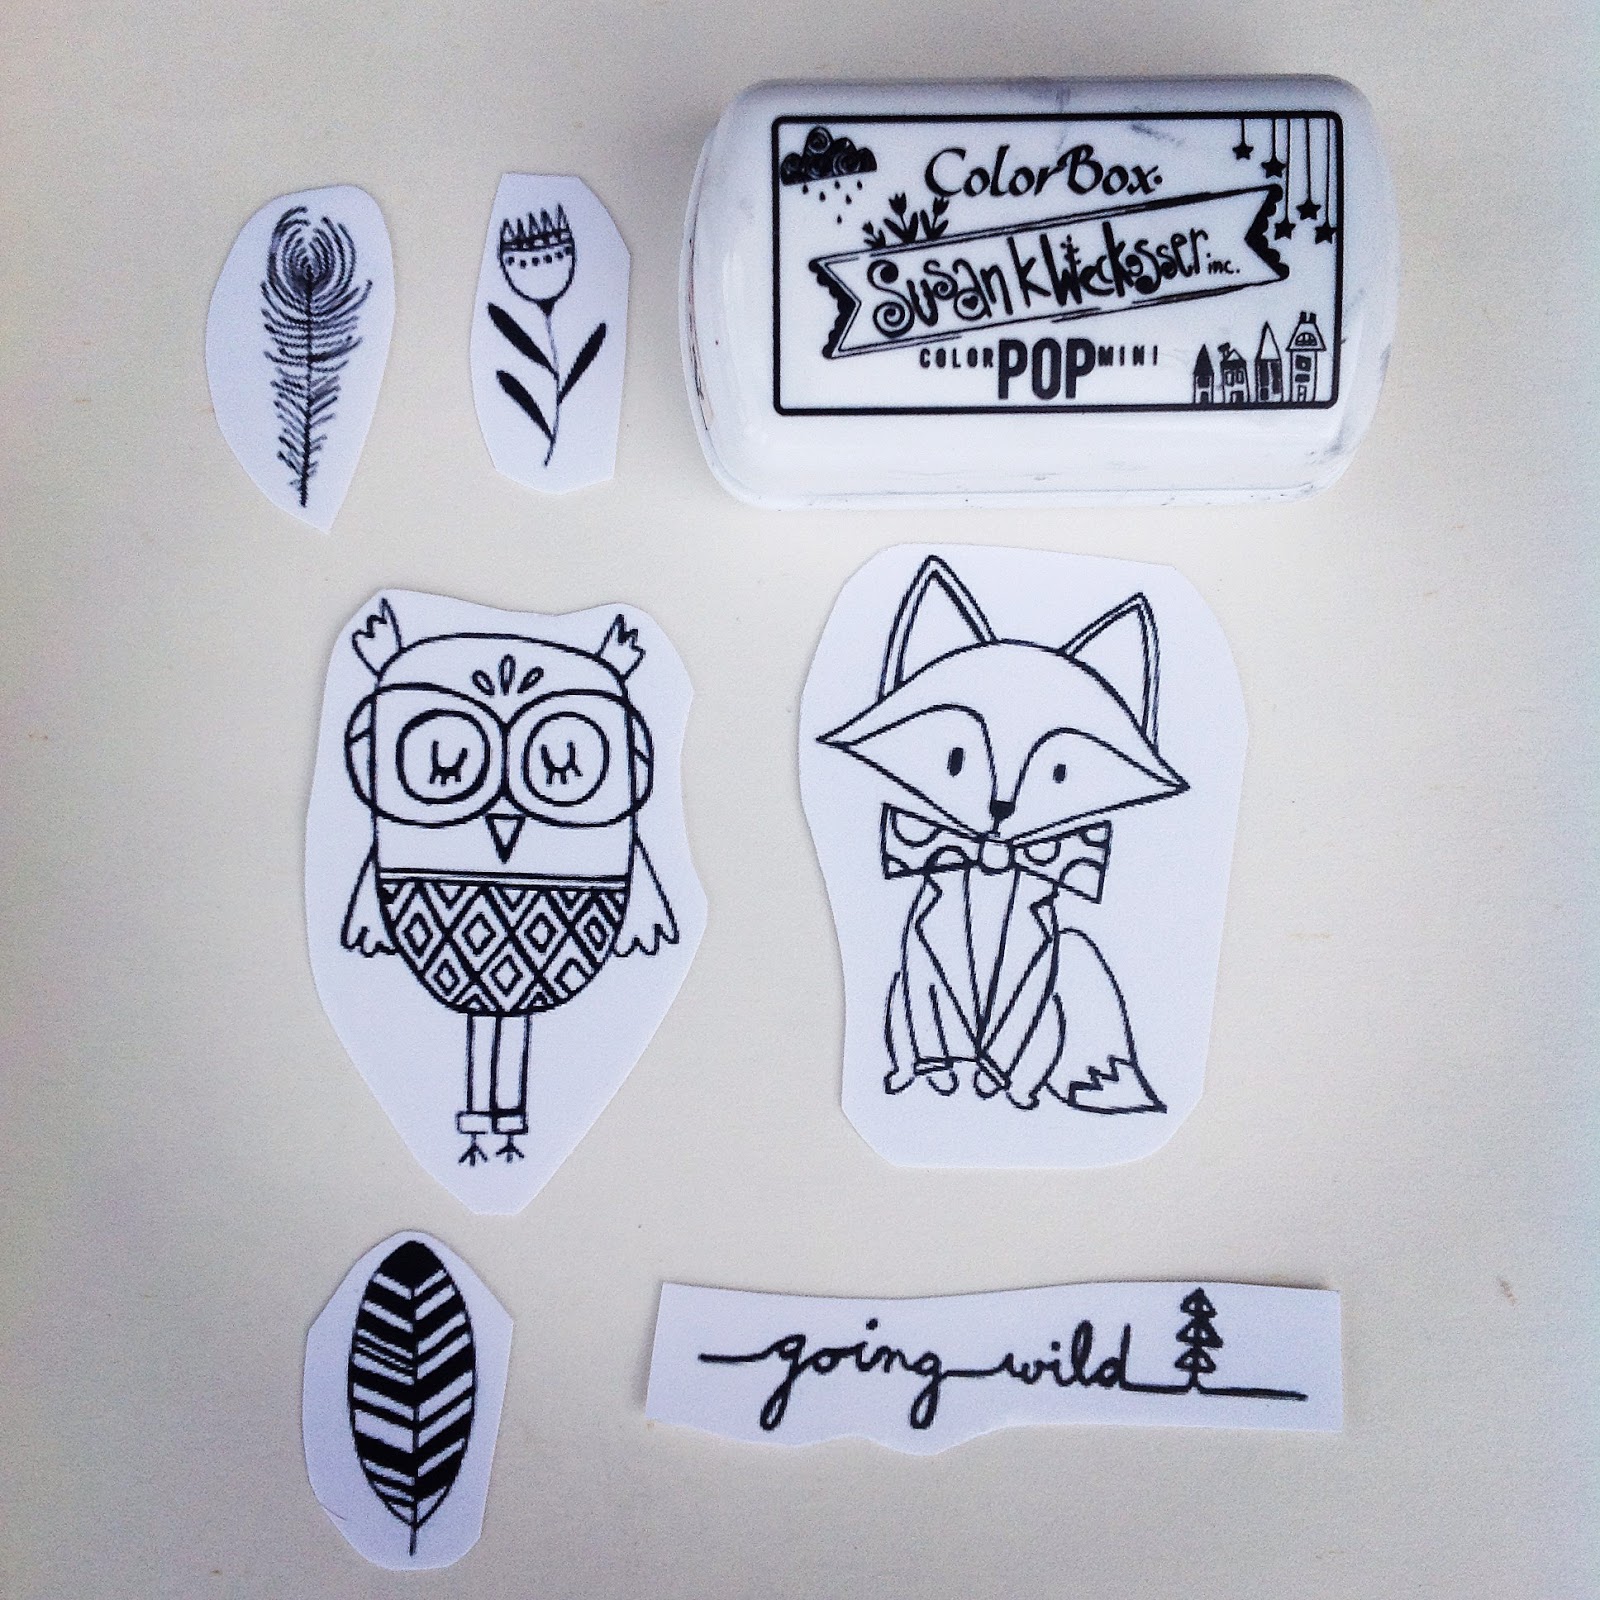


Next, I colored in the images with fall colored markers and cut them out.


Using Decoart acrylic paints, I painted two tags using Sour Apple, Tangerine and Bright Yellow with a wide paintbrush. 


With two sizes of sequin waste, I used Cocoa ink and Fresh ink to stamp through the stencils. 


Next, I used a small brush to make plaid lines and squiggle lines with the paints in Sour Apple, Bright Yellow and Deep Burgundy. Using a cosmetic sponge and the doodle stencil, I was able to stencil the numbers in Bright Yellow paint.


Then I adhered the colored, cut out images with Decou-page.  I also smudged the edges of the tags with Cocoa ink. 


Using a charcoal pencil, I outlined the images and gently smudged them with a Q-tip.  For added dimension, I smudged the tag edges in Mystery. 


I hope you enjoyed my little project and now I invite you to also 'take a walk on the wild side" and create some fall tags to share. 
 
Joyce Shaulis                  Susan K. Weckesser creative design team member
 
Susan K. Weckesser products used:
https://www.clearsnap.com/  mini Pop inks in: Mystery, Fresh, Cocoa
 
Other Products used:
https://decoart.com/  Decou-page, acrylic paints : Bright Yellow, Sour Apple, Tangerine, Deep Burgundy
cosmetic sponge
charcoal pencil
sequin waste in two sizes
 

Saturday, October 29, 2016

Mixed Media Journal


Hi folks, Katy here with my project for this month's mixed media theme. I chose to alter an inexpensive notebook with paints and stamps and a stencil by Susan.

This piece is definitely inspired by a class I took with Kate Crane where we focussed on mark making techniques. Susan's stencil is perfect for this as it contains a ton of different shapes.

How I made it:
1) Paint the cover roughly with magenta, yellow and white paints, mixing as you paint.
2) Work magenta paint through the flower part of the stencil and through some sequin waste.
3) Add zigzag stencilling with yellow paint, circles with white gesso and numbers with black gesso.
4) Add dots in blue. Stamp with lids in white and blue.
5) Stamp the dots in black and the stars also in black.
6) Create a white/blue circle and outline with black pen. Glue a metal butterfly and pen nib to the focal point.

I used these Susan K. Weckesser products:
TCW Doodle Stencil 
Jillian Vance Grunge Fun stamp set

Hope you like my journal!
Katy x


Friday, October 14, 2016

There is Always HOPE

October is Mixed Media month  here at { My Sweet Earth }..For this card, I used a piece of Susan's Live in Color paper as the background and her Doodle stencil to create the scallop design.. Colorbox Color Pop Premium Dye Inks in Ice and Kiss  were just swiped over the stencil that was  placed on top of the background paper. Tiny mushrooms from the Bunny Hugs were stamped, then punched out and placed in the scallops. A sentiment and flower from Journal Doodles With a Heart was stamped on cardstock then colored with a combination of Colorbox Color Pop inks in Kiss, Fresh and Ice and Clearsnap Smooch in Siren and Gold Lame'. I popped up the sentiment onto the background paper and also the stenciled background paper to the card base. A faux pearl was added to the flower center. 


These inks really lend themselves to a variety of techniques. I used the Colorbox Color Pop Dye inks in Kiss and Mystery directly on the stamps for the sentiment and flower.They can also be swiped   across an acrylic block and applied with a waterbrush, which is how I colored the flower and mushrooms.. And I also applied them directly to paper through a stencil.


I hope this card will encourage you to use your inks in "different" ways. The colors are so vibrant.And combined with some fabulous stamps by Susan K Weckesser, your projects will be absolutely amazing !!

Debra Davison
Susan K Weckesser Creative Team


Tuesday, September 13, 2016

Going Wild with Irit


Hello my dear crafty friends and welcome to my first small tutorial post for September made with Susan K. Weckesser products.
I was not sure what this project will be, but it became the Mixed Media card. 
So here are all step for your inspiration:

1. Die cut the thick white cardstock with stitched rectangle die and paint with 4 different paints from Tattered Angels range. As you can see I didn't even use the green color, but the mix made it green with just a bit of other colors seen.


2. Die cut the circle from the painted panel with Die Versions die.


3. Use Susan's Doodle stencil and ColorBox Color Pop Snow ink to add some borders to the card.Let it dry or use your heat gun as this is pigmented ink.
   

4. Going Wild co- branded with Unity Susan's  set Fox was stamped with Color Pop mini Cocoa ink and hand cut later.


5. And this is a finished card.
The sentiment was stamped with the same Snow ink over the card.As this ink is pigmented let it dry for a few minutes or use your heat gun.
The fox was painted with Zig Real Brush colors and covered with glaze.
I also added the faux stitching with white pen inside the circle.


Monday, September 5, 2016

Friends Card


Hello friends - Katy here today and I am sharing a mixed media card using the adorable owl from Susan's Going Wild stamp set for Unity. The team are making cards this month with a friendship theme, so I combined the owl with a heart motif.

I actually created this card from digging around in my scraps box. The background is made from card that's been dipped into Distress Sprays and water smooshed onto a craft mat and is leftover from a bigger project. I added a stencilled border with the Doodle stencil to give it some additional detail.

The heart has been embossed through a Big Shot and then is painted with ColourArte Silks in Teal Zircon - this has a gorgeous shimmer. The heart was a reject from another previous project. I inked the edges to make it pop a bit more from the background.

I coloured my owl to match and finished with a flower from - you guessed it! - my scraps box and a word sticker.

All of which proves you should never throw anything away (despite what your husband might say!).

Hope you like my little card!
Katy x

Susan K Weckesser products used:


Sunday, July 31, 2016

Live, Love and Create with Irit


Hello my dear crafty friends and welcome to me second July inspiration made with Susan K. Weckesser products for her blog.
This month of July were all were inspired by Home Sweet Home things and this 3d small display is my home inspiration.
I have those small chipboard houses from Tando Creative UK for ages and never had a chance to use them. So here is my chance to use Susan K. Weckesser products together with those houses and I made a small tutorial for you all to share:
1. Paint the chipboard houses with white acrylic paint and let them  dry.


2.Use Susan K. Weskesser Color Box mini Pop inks in three colors to color over the white paint.
 I used Ice,Fresh and Sky color of those inks.But as I wanted the colors to be light and mute I just wiped  the colors with wet baby wipe.


3. Using Susan's Doodle stencil I made the lines with texture paste over the each chipboard roof shape and after it was dry I painted them with here mini Pop ink in Kiss color.
Cover the  chipboard base  with Live in color cardstock (I used the backside of it ) and distress the edges a bit with a sand paper. 


4. Stamp Celebrate the small things saying over the same cardstock with Celebration of Simple Susan's and Untiy co- branded stamp. Glue the stamped saying as shown over the base.


5. Make the " wooden" sign with faux wood (gesso, texture paste, old tooth brush and Susan's mini Pop Cocoa ink. The cut the parts to make this triple arrows sign and  add the Live, Love and Create words that were cut out from Susan's Live in Color Tags cardstock.
Paint the small chipboard windows and doors from the chipboard set with white paint and glue them over the finished houses. 

And here is my little 3d display on my  vintage findings shelf!


I really hope that you liked my small tutorial and see you again in two weeks!


Tuesday, July 26, 2016

Owl's House


Hiya all - Katy here with today's make. I'm continuing the home theme with my little house that's inhabited by this charming owl! Wol is from one of Susan's new Unity releases, Going Wild- isn't she adorable?

Susan K Weckesser products used:
-Unity stamp sets: Going Wild, In My Garden, Fly Away
-Jillian Vance stamp set: Grunge Fun
-TCW Doodle Stencil
-Colorbox Color Pop Ink: Cocoa, Sky

The little house shape was pre-cut MDF and it's been sitting in my 'things to alter' box just waiting for this theme! I started by painting it with chalk paint to give an nice smooth stamping surface.


I stamped a background using the dots from Grunge Fun and yellow ink then stamped the leaves and flower heads from In My Garden. I also stamped a little branch for Owl to sit on. Owl is colored with alcohol markers then cut out and added on foam pads.


I used a Hydrangea StazOn for the flower heads and filled in the dots using the end of an embossing tool dipped into magenta paint.


The roof is made using Susan's stencil to make a scallop which I filled with Colorbox Color Pop ink in Cocoa (it went a lovely warm grey over the chalk paint). I added doodling and dots for detail. I also stencilled a little border along the bottom edge in the same color (see main pic) for balance.


Finally I stamped the cloud and sun from Fly Away. The clouds are stamped with Sky ink and textured with the Grunge Fun set. The sun is coloured with alcohol markers.

Hope you like my happy little house project.

See you soon!
Katy x

Doodle Stencil

Fly Away

Grunge Fun

In My Garden

Going Wild

Monday, July 18, 2016

"It Takes A Village" Mixed media wood blocks


Hi!  This is Joyce and I am excited to be part of the Susan K. Weckesser Design Team.  Mixed media and recycling is a passion of mine, so today I would like to share with you how to create your own village using the wonderful new mini-pop inks, stamps, and scrapbook paper that Susan has created. 

For this project, I used recycled children's wood building blocks.  I made mine reversible, and the roofs can be switched around also.  Another idea would be to make a holiday house on one side and "everyday" on the other.  You can use any size, shape, or combination of blocks, so get creative and have fun!


First, choose your blocks to make a little village.  Slice larger blocks in half on the bandsaw to make roofs.  


Next, tear up strips of old tissue patterns into sections approximately 1" x 3".  Using a foam brush and Decou-page, glue on tissue pieces to cover all sides of your houses and roofs.  Be sure to overlap edges a bit.  Let dry.
 
 
Take your mini-pop ink color and swipe it on all sides of your wood piece.  This covers quite easily and is bright and vibrant.  When dry, use Mystery for a vintage look by swiping the edges.  Continue with all colors until all blocks are colored.


Ink up the Celebration of Simple stamps with the mini-pop inks and stamp onto the Colorburst scrapbook paper for the roof fronts.  Cut out triangles to fit your blocks.  Adhere the pieces with the Decou-page.


Trace the house block shapes onto the Colorburst paper and cut to fit the blocks.  Use both sides of the paper for variety.  Glue the rectangle pieces with Decou-page onto the blocks. 
 
Drill holes 1/4" into roofs for chimneys (screws or springs) to fit.   


With the Doodle Stencil and a cosmetic sponge, pounce Decoart paint colors on house fronts and backs.  Use coordinating paint colors with the mini-pop ink colors.  Let dry.  Using the Mystery ink, go over edges of scrapbook paper. 
 
Cut out magazine words that relate to the home theme.  Distress the edges with Mystery ink.
 
Arrange metal scraps, keys, buttons, dominoes, and magazine words to your liking.  Photograph for reference.  Glue on all paper pieces and words.  Doodle around words and stenciled areas with a ultra-fine sharpie pen and a white gel pen.  Brush over all house surfaces with Decou-page.  Allow to dry.  With foam brush, cover all wood block surfaces with Decoart ultra-matte varnish.  Dry well.  Glue down all metal pieces, dominoes, keys, buttons with E6000 glue.  Also glue in the chimneys with E6000 glue, referring to photo. 


I hope you enjoyed this project and look forward to seeing what you've created with Susan K. Weckesser products. 
 
Joyce Shaulis     For the Susan K. Weckesser Design Team
 
Susan K. Weckesser products:
Celebration of Simple red rubber stamps http://www.unitystampco.com/
Colorburst scrapbook paper
Color Box mini-pop inks: Kiss, Cocoa, Fresh, Sky, Mystery, Ice http://www.clearsnap.com/
 
Other Products:
Decou-page, Decoart paints in True Red, Peacock Teal, Sour Apple, Ultra-Matte varnish  http://decoart.com/


Wednesday, March 9, 2016

Arise- Journal page by Shilpa

Hello Everyone,

We are celebrating mixed media month so all designers are presenting their exceptional mixed media creativity.

I love my art journal play and today I would like to share one page which I created with Susan's stamps, stencil, papers and other mediums.


I've used Susan Weckesser designed "Fly Away" stamp set and Doodle stencil. 


I started off with adhering washi tapes on the page. To prime the surface I applied coat of gesso. Next I created texture with 3D mat medium and stencil, randomly on the surface.


When texture paste dried, I used acrylic colors and my fingers to get this look. :-)


Next layer was with Susan's Doodle stencil and black acrylic paint.


For more texture, I stamped mini dots from Susan's Grunge Fun and coffee archival ink.
Further, I stamped clouds and sun on the design paper and cut it to add on the page as a focal point.
When I added quote, my page was complete.

Hope you liked my page and got inspired.
Thanks so much for stopping by, see you in two weeks!


Products Used:


ShareThis2

BrendaPInnickColorCafe