Showing posts with label Clearsnap. Show all posts

Friday, December 30, 2016

Stamped clips

Hello my dear crafty friends!
Welcome to my new small tutorial made for Susan K Weckesser's blog.
This time I decided to make something for the planners trend. And as I don't even have a planner, but I do use  small notebooks, I made a few stamped clips for my notebooks as dividers.
So here is my tutorial:
1. Stamp Susan's  houses with her Clearsnap ColorBox mini Pop ink in Mystery color twice using co-branded with Unity Tumbleweed Houses stamp set.


2. Color the houses with Susan's other Clearsnap inks in Fresh, Ice, Sky and Kiss colors and as there is no Susan's yellow ink I used another Clearsnap ink in yellow. Don't try to make the best ever coloring and don't afraid to be out of the lines as we are going to cut the houses later.


3. Cut all colored houses and make them 3d using 3d foam glue.
Glue the house over plastic office clips with strong paper to plastic glue.
Use them!


Tuesday, December 20, 2016

Life's A Picnic

Hello Friends!!  This is Joyce Shaulis with my last post with the 2016 Susan K. Weckesser creative design team.  This month, we're making gifts that we can give away to strangers, neighbors, or friends.  I had these miniature picnic baskets on hand just waiting for creativity to strike!  I thought these would be adorable to fill with candy and given away as little gifts. 


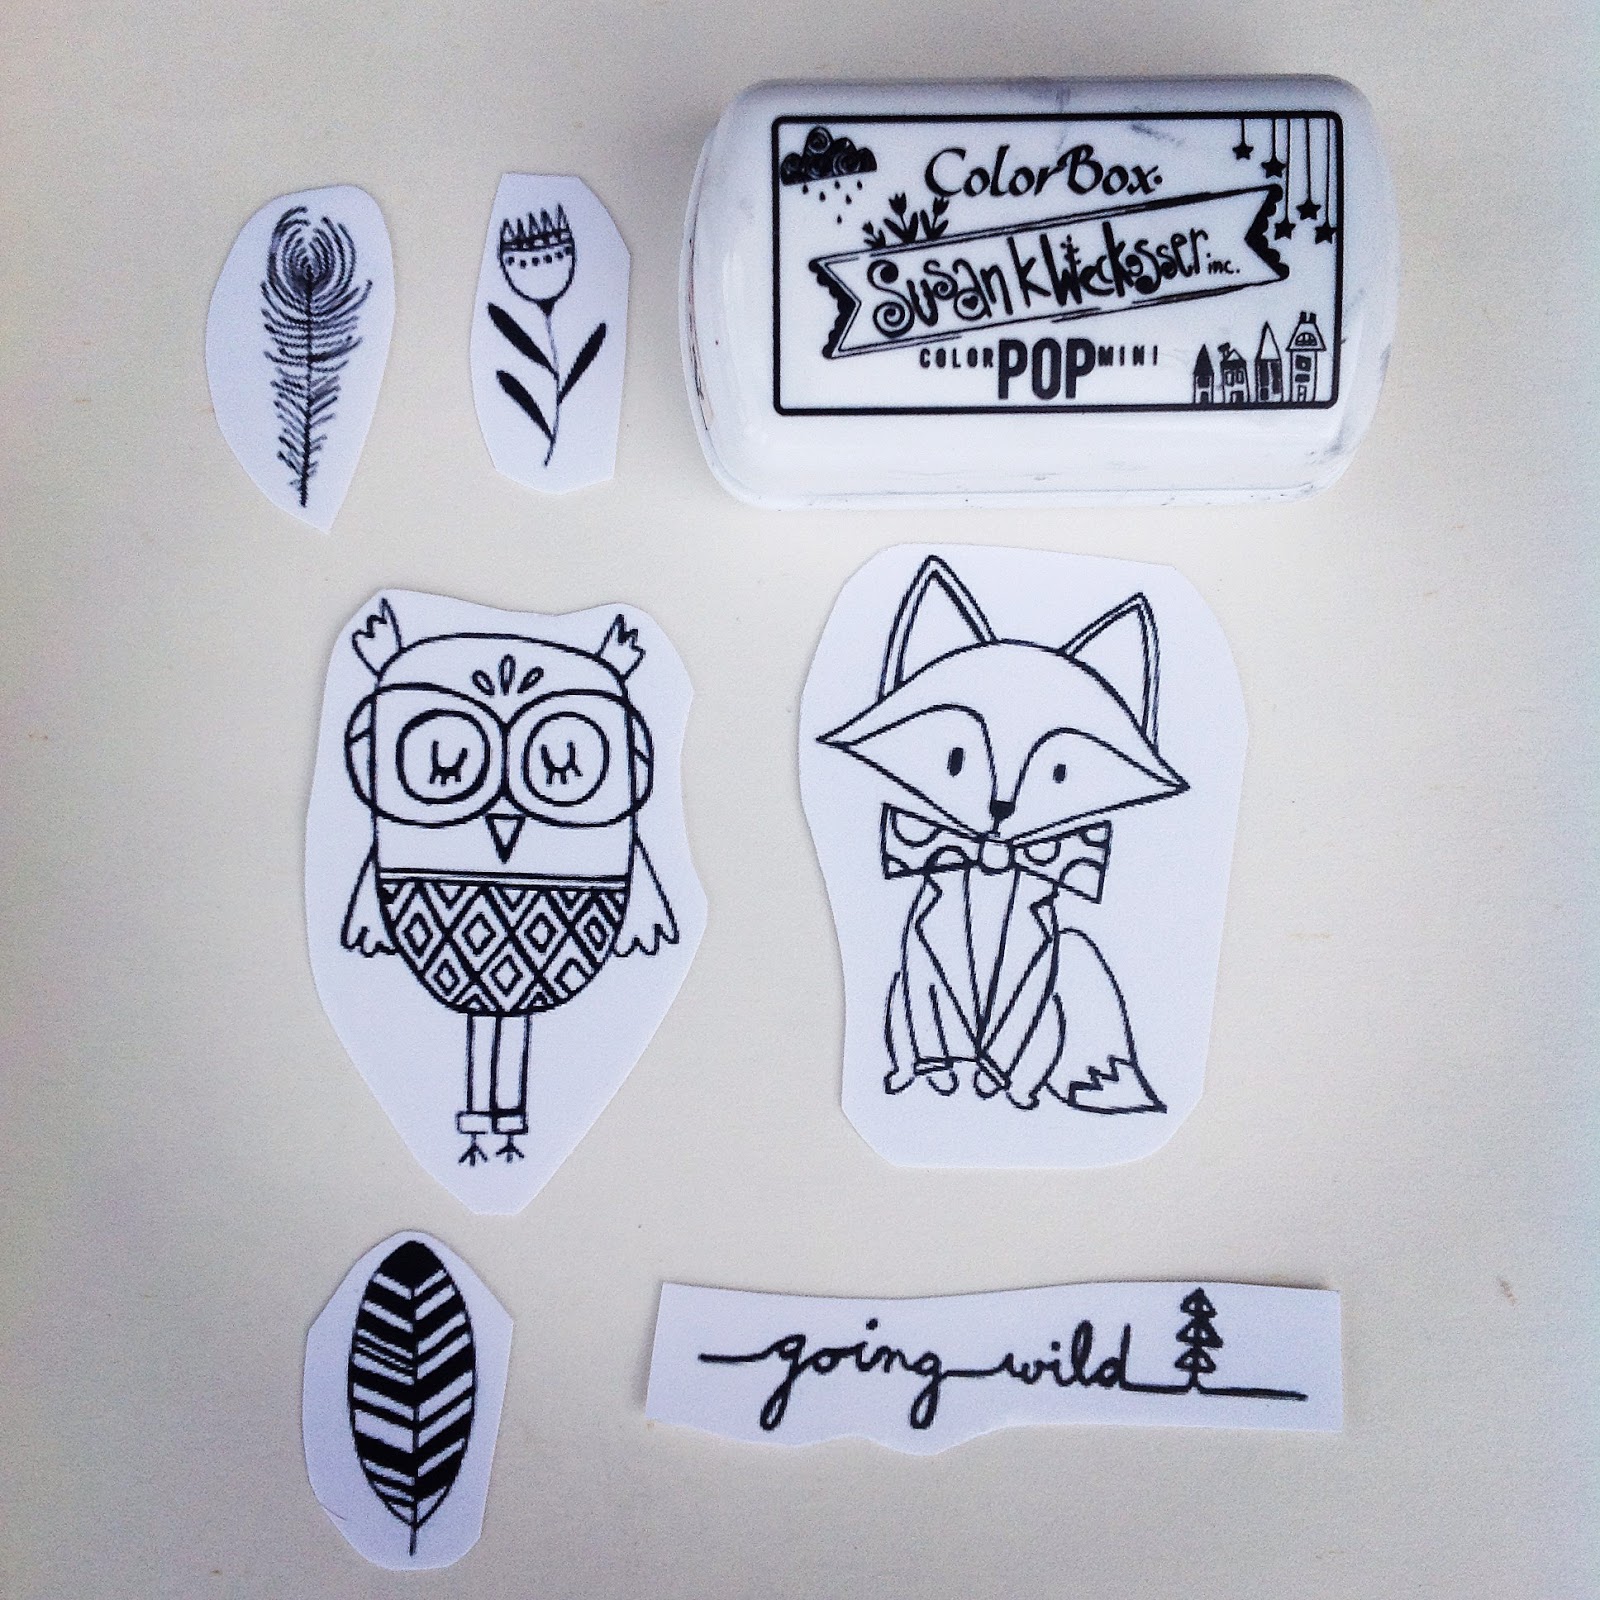
For this crafty project, I used Susan's co-branded stamp set, "Going Wild".  To begin, I used the clearsnap mini POP ink in Mystery to stamp the fox and the owl on white cardstock. 


Next, I used the mini POP ink in Kiss and Fresh on the basket lids.  I just swiped the ink pad right onto the wood lid.  I also used a damp paintbrush to fill in small areas where I couldn't get into with the ink pad. 
I colored in the images with markers and cut them out.


I used Decoart acrylic paints in red, yellow, light and dark green to paint plaid and polka dots on the  lids, on top of the red and green ink. 
After experimenting a bit, I decided to add a border around the images so they would stand out better.  I glued the images on top of cream colored cardstock and cut around them.   I lettered out the words "Be Merry" and "You are loved" with an ultra fine sharpie marker onto white cardstock and cut them out in rectangular shapes. 


With an old paintbrush, I brushed Decou-page on the back of the cut out images and adhered them to the lids.  When they were dry, I brushed more Decou-page on top of the images.  After completely drying, I outlined all images with a charcoal pencil and gently smudged them with a Q-tip. 
I added dashes, a squiggly line and dots around the lid border with paint and a small paintbrush.  Then I coated the surfaces with the Decou-page.  When dry, I sprayed them with Decoart's acrylic matte sealer. 


I hope you enjoyed my final 2016 project, as I have enjoyed sharing ideas with you these past months.  I hope you have a beautiful Holiday Season with loved ones and family. 
 
 
Joyce Shaulis                     Susan K. Weckesser Creative Design Team Member
 
 
Susan K. Weckesser products used:
https://www.clearsnap.com/ mini POP inks in: Mystery, Kiss, Fresh
 
Other products used:
https:decoart.com/ acrylic paints in red, yellow, light green, dark green. Decou-page, Acrylic matte sealer
miniature picnic baskets from Michaels
charcoal pencil
 ultra-fine Sharpie marker
Q-tip 


Wednesday, December 7, 2016

Snowflake Kisses

Hi everyone, Steph Ackerman here today using a sweet new stamp set from Unity called Hello Winter.  This stamp set contains 9 stamps of assorted sizes and today I wanted to focus on the Winter Girl.


I colored her with Copic Markers then die cut her with Spellbinders dies.  She looks so cute!!!  A light edging of Shimmer Metallic Pigment Ink was added before I matted her with brown cardstock.

 
Using the Bouquet paper from the Live in Color Collection, I placed her on top, then added the sweet sentiment which I also die cut. 
 
Around the card I tied ribbon, then added the panel with foam adhesives.
 
 
Thanks for stopping by today.
 
Steph Ackerman
Susan K. Weckesser Design Team


Tuesday, November 22, 2016

I Care Mixed Media Tag


Hi all

I have a mixed media tag using the Clearsnap Color Pop Mini Inks and Susan K Weckesser Unity Co Branded stamps


I started off by stamping over a white tag with In Circle Me background stamp and then i mixed the white and red inks to make a salmon pink. I painted this on to the background and left the circles blank for now.


I colored in the circles with Ice Blue and mixed Navy Blue and Red together to make purple.


I painted up the MDF mask using DecoArt Fluid Acrylics Magenta and glued it to the tag before coloring in two hearts from the Grunge Hearts stamp set.


I then dribbled some of the magenta paint over the paper flowers which i inked with the colour pop inks. I miked the inks with water and painted them. I used the sentiment from the Bunny Hugs stamp set

Wednesday, November 16, 2016

Fancy tags tutorial with Irit


Hello my dear crafty friends and welcome to my new tags tutorial!
This time I made a couple of fancy tags with Susan K Weckesser's Unity co- branded stamps, Clearsnap inks including Susan's gorgeous mini ColorBox Color Pop inks and the most gorgeous Makin's Clay casted in molds embellishments that were painted in gorgeous shimmery paints from Art Anthology.

So here is the full tutorial:
1. Stamp two tags from The Garden whatnot collection with black pigmented ink and heat emboss with clear embossing powder.


2. Hand cut the tags around the stamped images and made two copper glitter hand cut tags a bit bigger than the stamped tags.


3. Ink the stamped tags with a mix of Susan's Clearsnap ColorBox mini Color Pop inks in Kiss, Fresh and Ice colors. Just use them as a kind of watercolor over the tags. 


4. And as a magic-  your tags are just done!
Glue the inked stamped tags over the copper glitter tags.
Tie the twine and glue Makin's Clay embellishments that were previously painted and add some pearls on the side.


I added a  couple of chipboard words to make those tags more artistic and not just  usual gift tags.


Sunday, November 13, 2016

Live In Color Tag Ornaments

Hi Friends!  Joyce Shaulis here today with another November tag project.  For this project, I recycled drink coasters and turned them into ornaments.  There are a variety of shapes available anymore, so that makes it more fun.  For these, I used ones that were 4" x 4". 


To begin, I cut out four images from the Live in Color Tag scrapbook paper. 


I stamped onto white cardstock with Mystery, color POP mini ink and the stamp set, Unicorns and Rainbows.  I also used some of the mushrooms, flowers, and bugs from the What's Up Gnomey? set. 


I used markers to color in the Unicorn and Rainbow images and cut them out. 


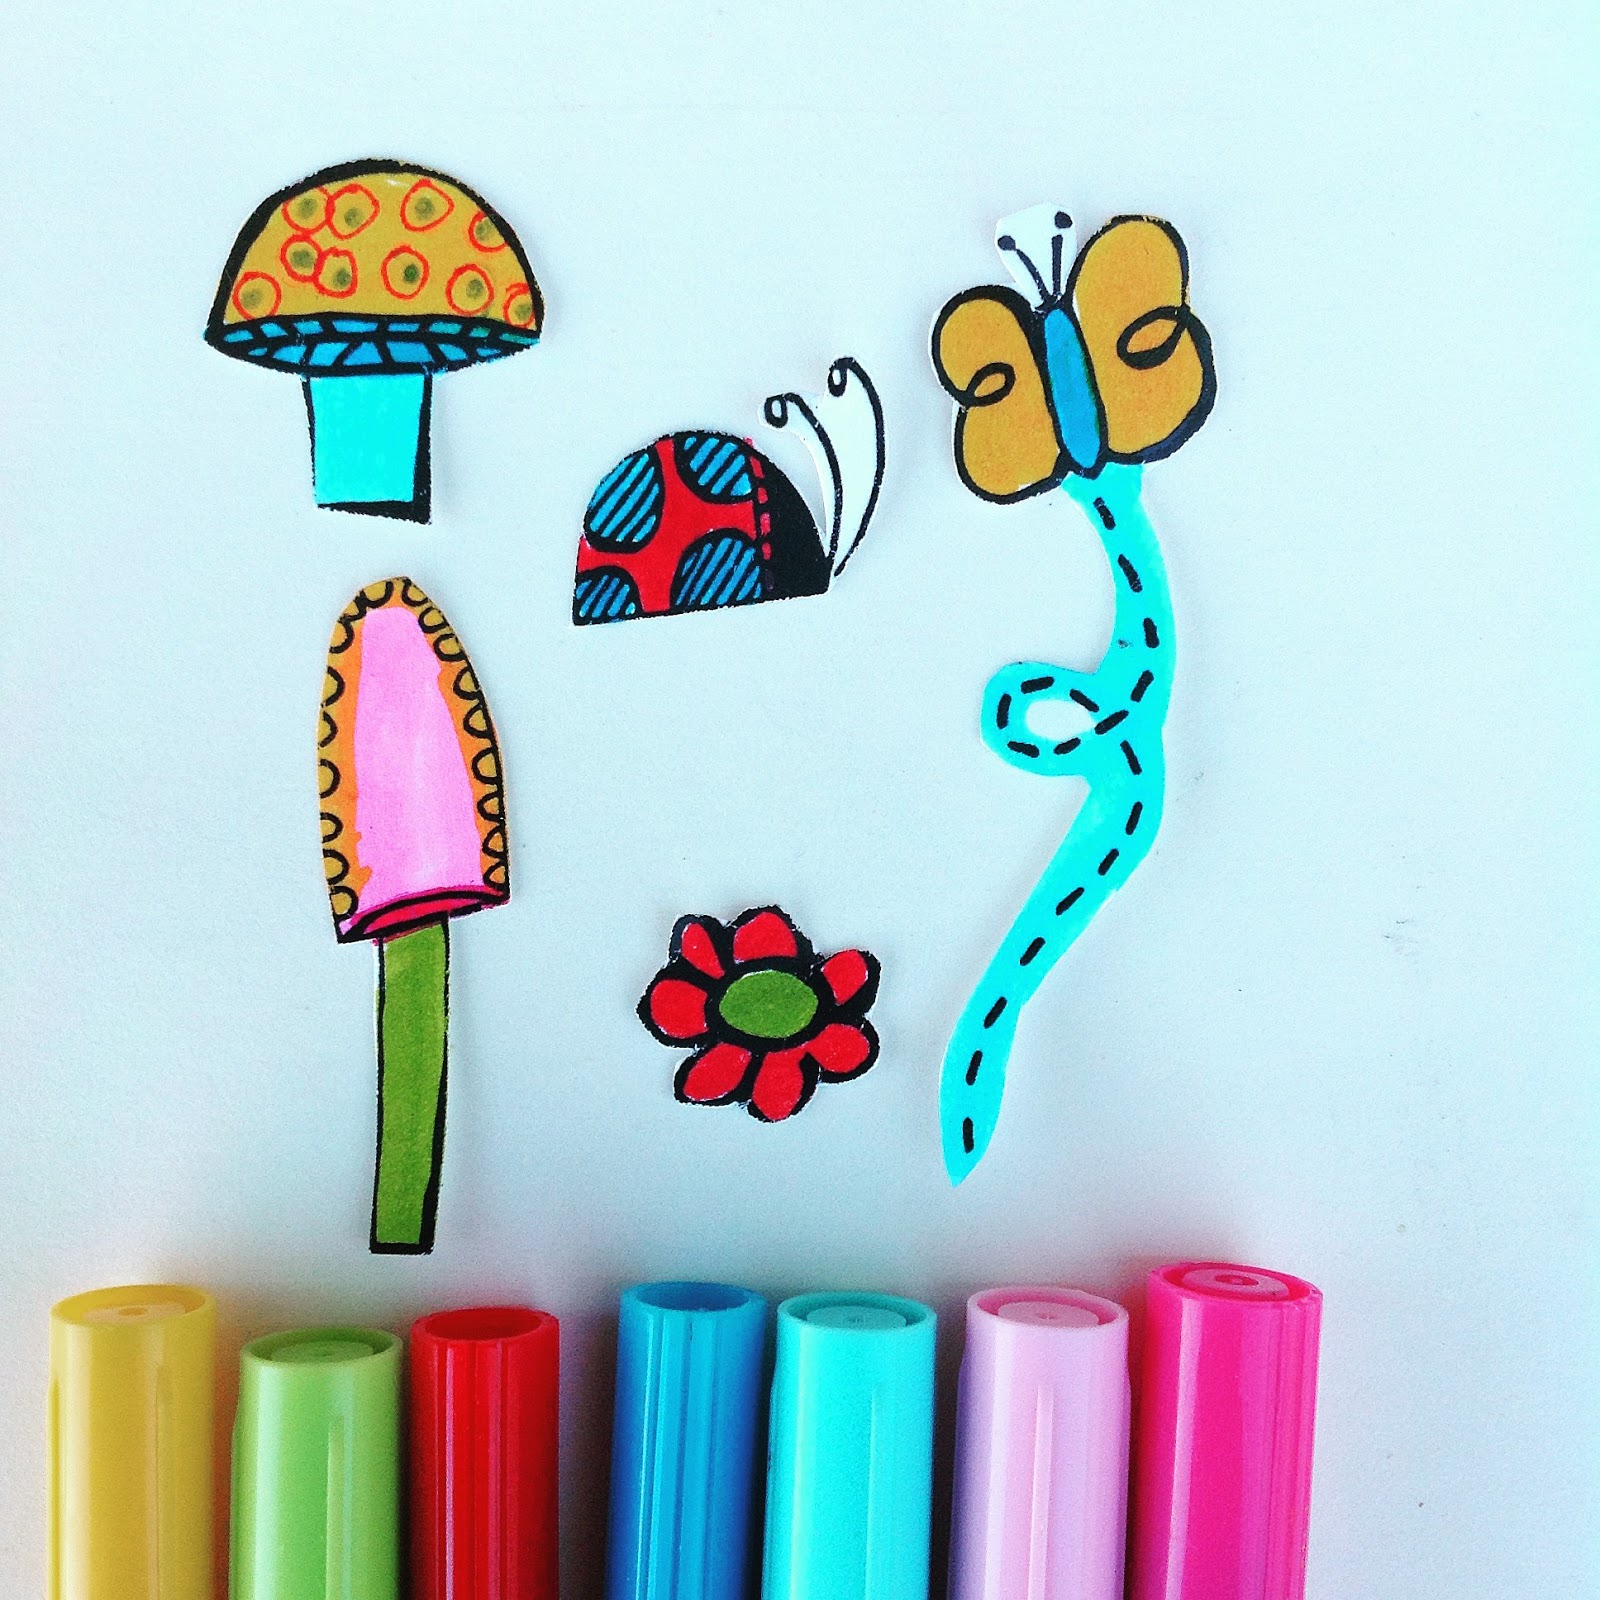
I also colored in mushrooms, flowers, a butterfly, and a ladybug from the What's Up Gnomey? stamp set and cut them out. 


Using Decoart's Decou-Page and an old paintbrush, I glued the tags onto the four coasters.  Then I glued the cut out images with Decou-page on top of the tags. 


Next, I took the mini POP inks and swiped the edges of the coasters.  For these four, I used Kiss, Fresh, and Ice. 


With a charcoal pencil, I outlined the images and the lines on the tags.  I smudged lightly with a Q-tip.  Then I coated all the coasters with the Decou-page.  After drying, I coated them all with Ultra-Matte varnish. 


Choosing from my sequin and jewel stash, I glued an assorted variety onto the coasters with white glue. 


I then used a paper punch to punch two holes into the upper corners.  Then, I used a 12'-14" piece of ribbon to tie in the holes, making a loop in the center of the ribbon.


These can be used as tags and double as ornaments.  I think they'd be a cute addition for a birthday or baby present.  I hope you enjoyed my project and that it will give you some ideas to recycle those drink coasters.
 
 
Joyce Shaulis        Susan K. Weckesser Design Team Member
 
 
Susan K. Weckesser products:
https://www.unitystampco.com/  Unicorns and Rainbows, What's up Gnomey?
https://www.clearsnap.com/ Mini POP inks in Fresh, Mystery, Ice, Kiss
Live in Color scrapbook paper
 
Other Products Used:
https://decoart.com/   Decou-Page, Ultra-Matte Varnish
https://kuretakezig.us  colored markers
white cardstock
white glue
paper coasters
assorted ribbons, jewels, sequins
charcoal pencil
scissors, paper punch
Q-tip


Friday, November 11, 2016

Love Ya Whole Bunches tag with Color Pop Mini Inks


Hi all

 I have a tag to share made using the Clearsnap Color Pop Mini inks.


I created the background by Mixing Sky and Night inks together and adding water so i could paint them onto the tag. Once dry i then applied gesso to the tag with a stencil.


I used the Love Ya Whole Bunches Stamp set ans used the color pop mini inks to color in the girl. I mixed the Snow and Kiss inks together to make a pink color, 


I took the MDF shape and painted gesso over it and then used a sponge to apply the Fresh Ink over it. I varied the strength of the color to create a faded effect.


I then use the A Little Bit Washi stamp set with Night and Fresh ink and stamped onto white tissue paper before layering them over each other like a collage.

Thursday, November 3, 2016

Walking On The Wild Side

Hi!  "Change is in the air" is our November theme and we are creating tags.  This is Joyce Shaulis sharing with you my creation of some fall tags.  I love creating tags and I make them often for the satisfaction of being able to complete an awesome project in a short amount of time.  They are fun to give away and to make in theme sets.


To begin, I used Mystery mini POP ink to stamp onto white cardstock along with Susan's co-branded stamp set, "Going Wild".


Next, I colored in the images with fall colored markers and cut them out.


Using Decoart acrylic paints, I painted two tags using Sour Apple, Tangerine and Bright Yellow with a wide paintbrush. 


With two sizes of sequin waste, I used Cocoa ink and Fresh ink to stamp through the stencils. 


Next, I used a small brush to make plaid lines and squiggle lines with the paints in Sour Apple, Bright Yellow and Deep Burgundy. Using a cosmetic sponge and the doodle stencil, I was able to stencil the numbers in Bright Yellow paint.


Then I adhered the colored, cut out images with Decou-page.  I also smudged the edges of the tags with Cocoa ink. 


Using a charcoal pencil, I outlined the images and gently smudged them with a Q-tip.  For added dimension, I smudged the tag edges in Mystery. 


I hope you enjoyed my little project and now I invite you to also 'take a walk on the wild side" and create some fall tags to share. 
 
Joyce Shaulis                  Susan K. Weckesser creative design team member
 
Susan K. Weckesser products used:
https://www.clearsnap.com/  mini Pop inks in: Mystery, Fresh, Cocoa
 
Other Products used:
https://decoart.com/  Decou-page, acrylic paints : Bright Yellow, Sour Apple, Tangerine, Deep Burgundy
cosmetic sponge
charcoal pencil
sequin waste in two sizes
 

ShareThis2

BrendaPInnickColorCafe