Showing posts with label Going Wild. Show all posts

Monday, December 26, 2016

Going Wild with Stamped Pendants

One of my favorite things to do is to use supplies and materials in unexpected ways.  So I love to use stampers and stamp pads in jewelry making, jewelry components in paper crafting, and incorporating things like fabric, yarns, and thread into all things.

I use stampers all the time on clay.  It is super easy to do and the little components can be used in many ways.  Recently I made piles of personalized Christmas ornaments with some of Susan's stamps and some Sculpey clay.  To finish some of the clay scraps off, I stamped a few extras.


I used a straw to poke holes in the clay before baking.
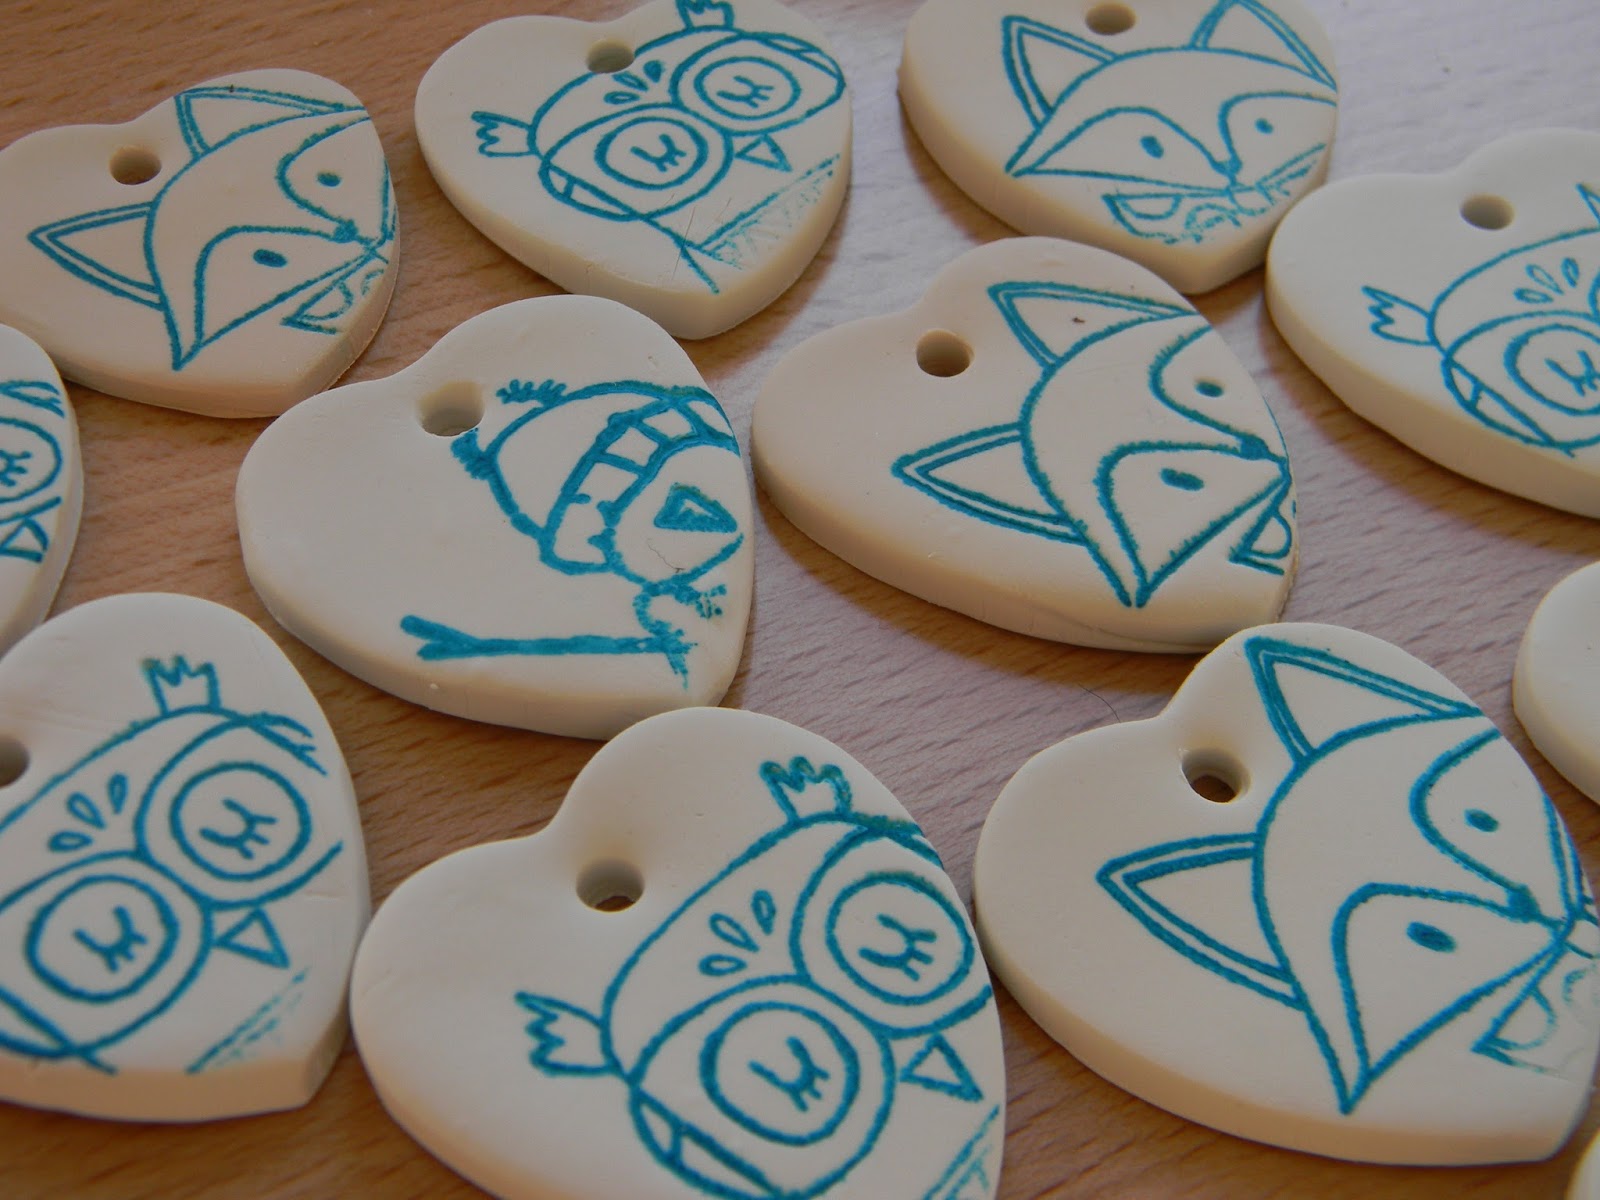

They can easily become simple pendants on a ribbon necklace.


These will make lovely little gifts for friends.


Added to some colored twine, they dress up a simple jar of candy.


I used:
Sculpey polymer clay
Stamp pad
Colored Twine
straw
plastic rolling pin
Plexiglas clipboard
Small Heart cookie cutter


Have a very Happy New Year!

Brooke Bock from the Susan K. Weckesser Design Team

Friday, December 16, 2016

Scraps and a Tag Card

  I love tags.  Tags to hang on things.  Tags as stand alone art.  Tags added to a card.  Today I am using more goodies from my scrap bin.

I stamped a tea stained tag with the owl from the Going Wild stamp set.

The little tiny heart is from the Heart-FULL Homes stamp set.


I cobbled some tiny colored paper strips out from the side of the tag and hand-lettered my sentiment.


I added a scrap of ribbon.


And used a brush to brush some color with Perfect Pearls along his feet.


What fun things can you make with some bits and scraps from your scrap box?

Brooke Bock from the Susan K. Weckesser Design Team

Monday, December 12, 2016

Waiting for Spring!


I really don't like the winter much - I spend a lot of time basically hibernating under a blanket waiting for the spring to come! So today I must apologise for my wholly unseasonable tag project!

I was thinking about something my teamie Joyce said when I created this - she was talking about how to use stamps creatively and so my 'flowers' were born. They are actually created using the leaf and feather stamps from Going Wild!


Here's how I made it:
1) Stamp the leaf in pink ink creating a radiating pattern with multiple images. Fill in the gaps between the leaf images with feathers stamped in yellow.

2) Use the star from Unicorns & Rainbows to create a flower centre in each cluster of stamped images.

3) Use a black pen to roughly outline the petals with scribbly lines. Also draw in some swirly curls and teeny circle dots, freehand.

4) Go over the swirls and dots with green watercolour.

5) Stamp the sentiment onto kraft card, cut out in a circle and edge with Susan's Snow ink from Colorbox. Mat the tag onto kraft card edged with the same white ink and finish with ribbon and gems.

Hope this makes you feel a little warmer today!!!

Katy x

Susan K Weckesser products used:

Unity/SKW stamp sets: Going Wild, Unicorns & Rainbows, In My Garden

Colorbox Color Pop/SKW Inks: Snow, Mystery


Wednesday, November 30, 2016

Arctic Fox Tag


Hi folks! Katy here with today's tag project. I don't have any of Susan's lovely Christmas stamps, so I thought I'd adapt the cute fox from the Going Wild set to a winter theme! Mr Fox has his arctic outfit on today - appropriate as it's REALLY cold (about -5 degrees) in the UK today.

Here's how I made the tag:

1) Paint the background of a tag with dark blue shades of paint (I used Prussian Blue Hue and Phthalo Blue by DecoArt Media). Mix the colours as you paint.

2) With Metallic Silver paint (DecoArt), stencil a snowflake design (Stampendous) onto the tag.

3) Add some embossing paste (Dreamweaver) to the bottom of the tag, making the surface rough like snow with a palette knife.

4) While the paste dries, colour Mr Fox with some markers (Graph-It) and paint a wooden snowflake white.

5) When the paste is dry spray lightly with blue shimmer mist (ColourArte Radiant Rain) and catch the tops of the texture with a little gilding wax (Treasure Pewter).

6) Mat the tag onto silver card. Assemble the tag with some pom-pom ribbon through the hole and a die cut greeting (Sizzix).

Thanks for your visit today!
Katy x

Susan K. Weckesser product used:


Saturday, November 26, 2016

Quick and Easy Decorative Tags

Hi everyone, Steph here today.   This month's theme is tags so I've created two tags using an assortment of Susan K. Weckesser products.


I've used large office supply tags as the base of my tags, but you could easily use a heavy weight cardstock if you prefer.  The tags were edged with Shimmer Color Pop Metallic Pigment Ink.

 
Cutting the Color Burst paper to fit the tag, I fussy cut a large flower from the Live in Color paper and added it to the tag with foam adhesives.   The cute fox from the Going Wild stamp set was stamped, colored and fussy cut then added to the left of the flower.


Bouquet paper was cut to fit the tag.  A large flower was cut from the Live in Color paper and added to the tag with foam adhesives.  I also cut apart the Live in Color tag sheet, using 3 words which were inked and added to the tag with foam adhesives.
 
Tags are really fun to create and are perfect for using up left over scraps.
 
Thanks for stopping by today.
 
Steph Ackerman
Susan K. Weckesser Design Team

Tuesday, November 8, 2016

Rustic Tree Slice Tags

Hi there folks!  Brooke Bock here today.  This month we are all working on tags.  When I think tags, I think pretty little ways to mark presents.  With Christmas coming, I wanted something simple and rustic that would be usable after the holidays.  So I broke out the power tools and a log from the wood shed and some of Susan's stamps to make one of my favorite projects yet.


I mean, really....How cute are these?  I love the woodland creatures from the Going Wild Set and What's Up Gnomey? set.  They both seemed perfect for this project.


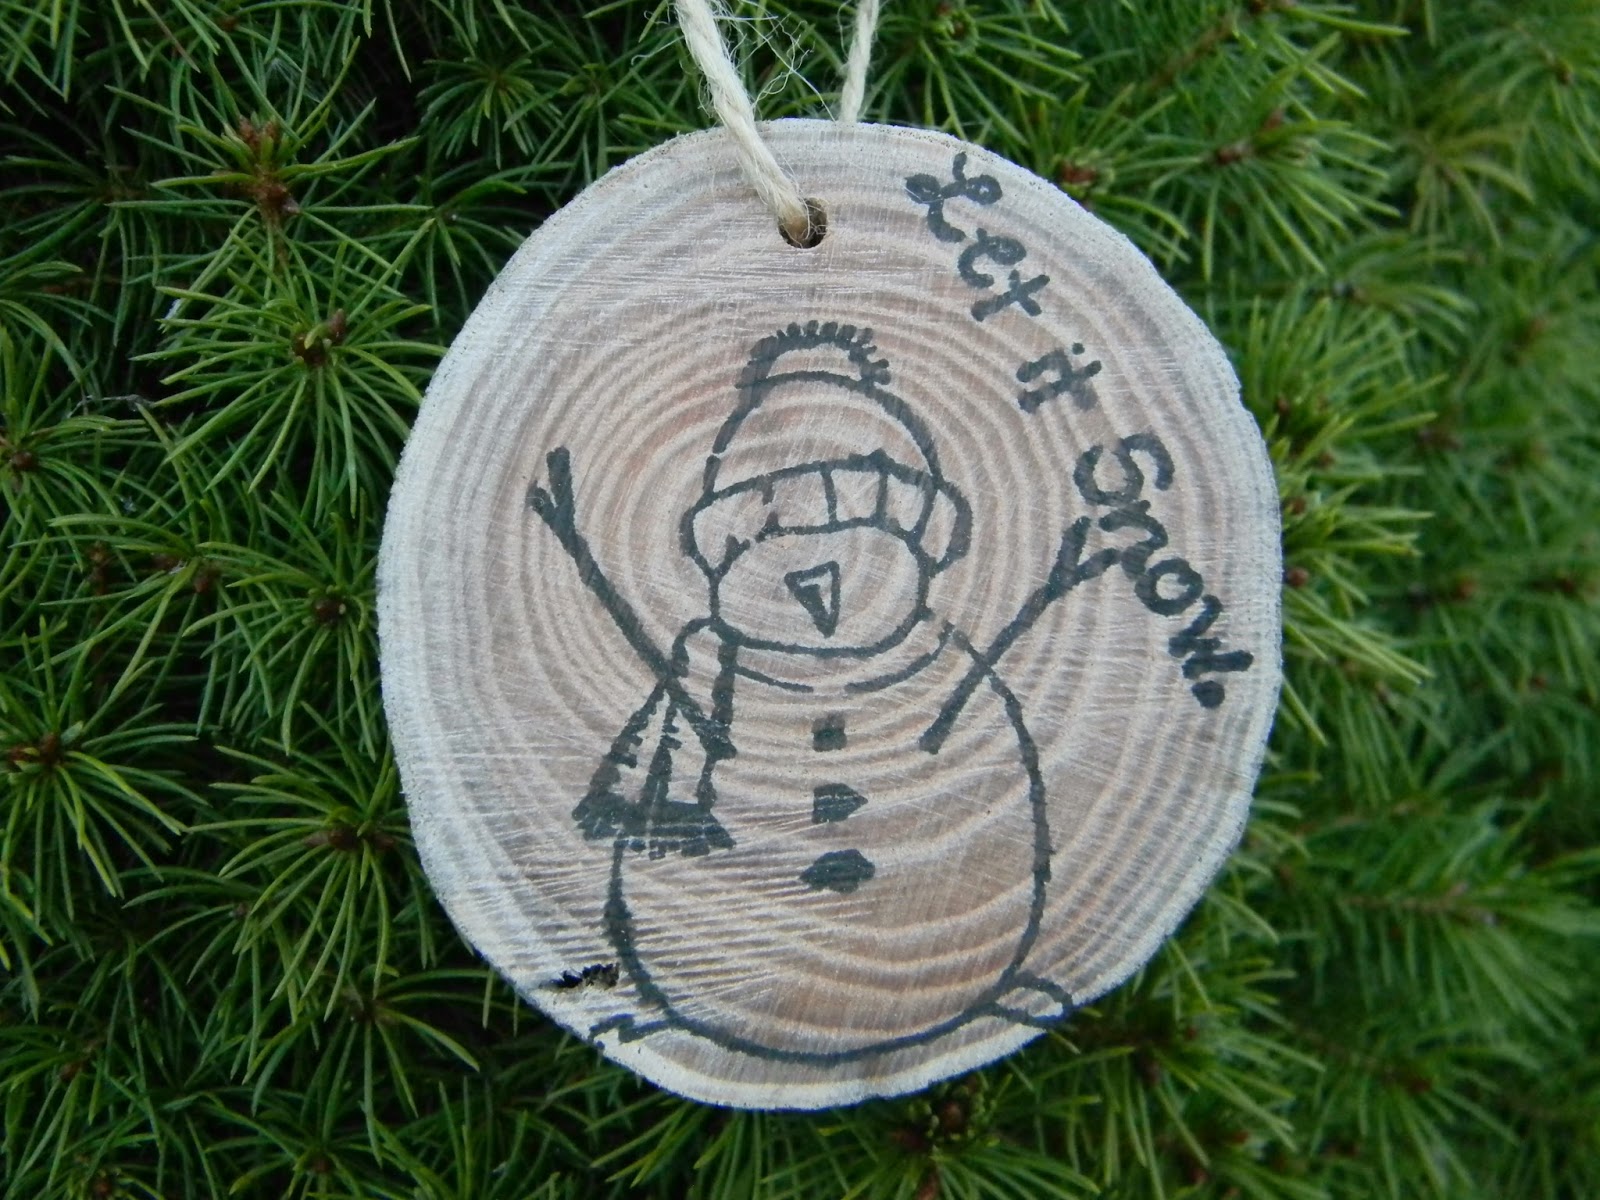
And for the holidays, this little snowman from the One of a Kind {Christmas Campaign} fit the bill.


So to get started you need wood rounds.  I cut mine myself from a log, as I mentioned and sanded them on the belt sander.  You can buy a bag of them at the craft store or kindly ask your woodworker friend to slice off a few for you. Drill a hole in each one with your drill or a drill press.


And then simply stamp each design with Susan's Color Box Color Pop stamp pad. I used Whisper.  I like the simplicity of black but the colors would be fun too.


Seriously, these took seconds to make once I had the wood rounds.


And the great thing is, I can just write the person's name on the back and attach it to their package.  I am  a huge fan of brown craft paper for gift wrapping.  These will complement it nicely.  and after the packages have been opened, these tags will not go in the trash....  No way!


They will make cute tree decorations for years to come.  I love that.  No waste for the landfill, took me a tiny bit of time and they are so adorable thanks to Susan's whimsical designs.


Hope you love them too.

Brooke Bock from the Susan K. Weckesser Design Team 2016.

Wednesday, November 2, 2016

A Foxy Hello

 Hello Friends. Larissa here with you today. I am so happy we are about to get some Fall weather here in Texas. We usually have 2 seasons here Summer and Winterish. Never get snow!!

Today I am using this adorable stamp set Going Wild. 
SB-1302A-GOING-WILD
I stamped the fox onto a piece of white cardstock and colored him using Prismacolor Pencils and blended with OMS.
I then cut him out and grabbed some pattern paper from Doodlebug Designs Forest Friends Paper pad. I also die cut the word Hello. 
I adhered everything to the card base using my ATG except for the Fox which I popped up with foam tape.
I tied a piece of brown ribbon around the bottom of the card to finish it off.


I can't wait to use him on other cards.
Hope you enjoyed my post today and don't forget to check back always for inspiration from the amazing Creative Team.

Have a wonderful day. 


Monday, October 31, 2016

My Little Boxes Full Of Happy - By Lynne Mizera

Hello and Happy Halloween everyone!  Today for my second mixed media project for the Creative Team I thought I would share this little idea that has been germinating in my brain for about two years now ... I am calling these My Little Boxes of Happy!

The size of an old-fashioned match box, the outside is already delightful... but when you slide back the cover a complete three-dimensional scene is revealed that just makes you smile... hence My Little Boxes of Happy

I used the Tim Holtz Matchbox die; Sizzix BigzL #659447 and Susan Weckesser's lovely paper to create my matchboxes.  Susan's paper worked like a dream because it is so much heavier than regular card stock.

The Susan K. Weckesser/Unity Stamp sets I used are the perfect size for creating these tiny 1.75"x2.25" diorama's which, when coloured in and covered in Ranger's Stickles and Close To My Heart's Liquid Glass, look like wee jewels.  A delightful little surprise and so gift-worthy, don't you think?


So thank you for stopping by today to share in this little bit of happy and if you are interested in how these were made you can pop on over to my blog to see all the steps in my process...
Happy Halloween Everyone!

for the Susan Weckesser Creative Team


Susan K. Wecckesser/Unity Stamp Sets Used:
Going Wild
Journal Doodles With A Heart
Granma's Needlepoint
In Circle Me
Create Your Day
Other Susan K. Weckesser Products Used:
Live In Colour Paper Line
ColorBox Mini Pop Inks
 

Monday, October 17, 2016

Woodland Scene in a Tin!


As our theme for this month is mixed media I thought I'd do a bit of upcycling and make an assemblage piece. This little critter's den started out life as a sardine tin (I know, yuk - but the dog likes them!). I love autumn colours and foxy fit right in with this colour scheme.

Here's how I made it:

Paint the tin with gesso and then raw umber paint - you may need a couple of coats.

Make a leaf print background by brayering paint onto a leaf and pressing it onto cardstock.

Seal a dry leaf with varnish then give it a shimmer with Treasure Gold or other gilding wax.

Edge the background with brown ink.

Spray some cheesecloth with ink to dye it.

When dry adhere to the box with gel medium.

Colour and cut out the fox. Arrange the bits and bobs into the box securing with strong glue (I'd recommend a gel or silicone glue). The little foot is two draughts game pieces stuck together.


Hope you enjoyed my tut today. Bye for now!
Katy x

I used Susan's adorable Going Wild stamp set from Unity for this make.


Thursday, September 15, 2016

Into the Woods

Our August theme for the Susan K Weckesser Creative Team is all about friendships, family and love. We all have friends who are like family to us and for me, that is my friend, Sue. We met in 1987 in the ICU where I had just gotten hired.Though the miles have kept us apart for many years, she is my best friend in the whole wide world and will be for always.. She is an animal lover, lives in the beautiful countryside in Maine and I just knew I had to create a card for her with the Going Wild stamp set. I had recently seen a few cards  made  using this template and especially loved one made by a new crafty friend, Trish Magnus. So with her permission, I have created my version of this cute, cute design !!


I used a paper punch to make 3 cut-out openings in a piece of scrap wood-grain paper down the Right side.. It seems like all the members of this team have a hard time throwing their scraps away !! After coloring the owl and 2 fox images from the Going Wild stamp set, I positioned them where I wanted them in the openings, glued them down and trimmed off the excess. A scrap piece of Color Burst paper  was used as the background behind the animals. A Martha Stewart border punch was used with a piece of Live in Color paper to create the border. The line of color was made with some ArtC Modeling Paste in Teal by using the Doodle stencil by Susan K Weckesser Inc.. A bit of Recollections Hemp was wrapped around the edge of the border.. I found it at Michaels on clearance for 49 cents and the colors perfectly match the Live in Color paper !! Love it when that happens !! I mounted the design on a Kraft card base ( Kraft is my all-time favorite cardstock !! )


Glossy Accents for the owl eyes
Martha Stewart border punch
  ArtC modeling paste
Recollections multi-colored hemp
Colored with Distress Markers and PITT Artist pens


Thank you for visiting {My Sweet Earth} and celebrating friendships, family and love with me. Send a bit of Happy Mail to a friend today and celebrate YOUR friendship. 


Debra Davison
Susan K Weckesser Creative Team

ShareThis2

BrendaPInnickColorCafe